Quantcast
Protege Build thread 2015 (Tons of pics!) - Beyond.ca - Car Forums
Page 1 of 5 1 2 ... LastLast
Results 1 to 20 of 93

Thread: Protege Build thread 2015 (Tons of pics!)

  1. #1
    Join Date
    Mar 2005
    Location
    Calgary
    My Ride
    Pushbroom
    Posts
    1,257
    Rep Power
    25

    Cool Protege Build thread 2015 (Tons of pics!)

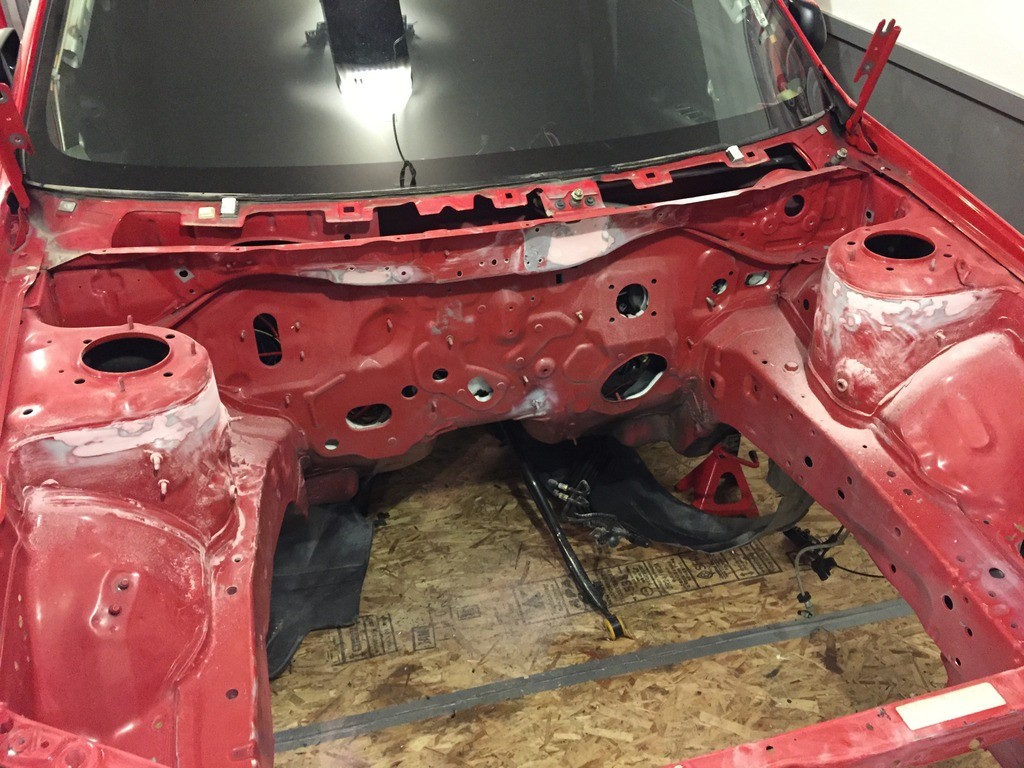
    Well, after having the old Protégé in storage for a few years, I pulled it out his year and finally decided to get back to work on it. For those who missed the previous thread from 2011, look here: http://forums.beyond.ca/showthread.php?threadid=333096

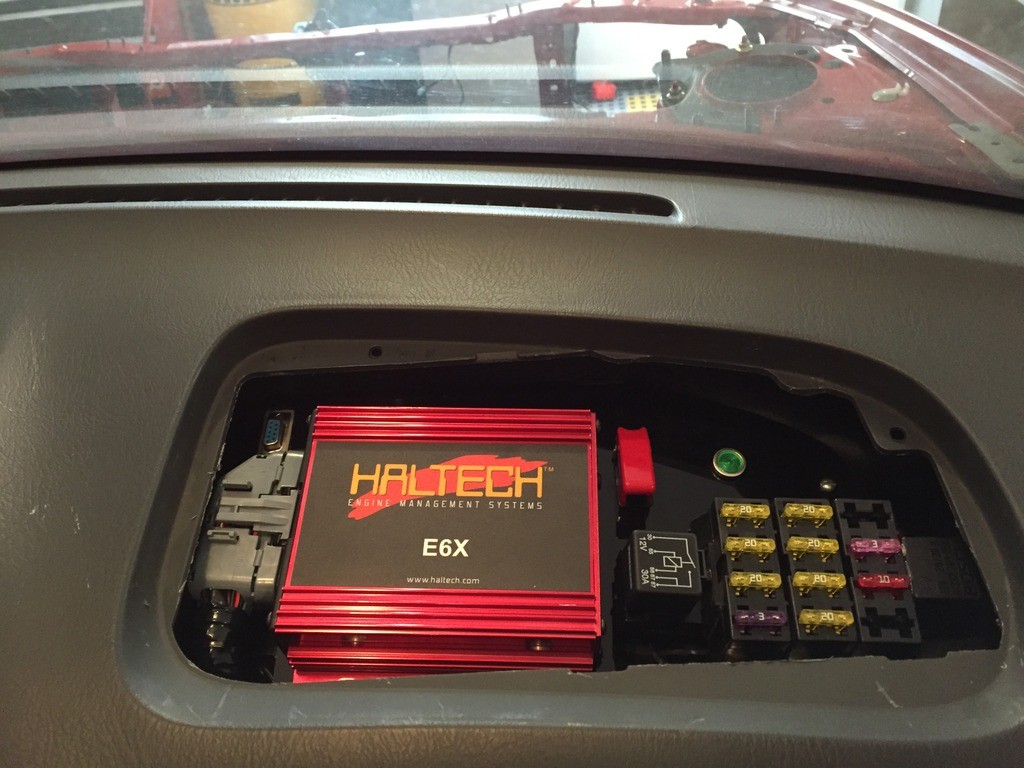
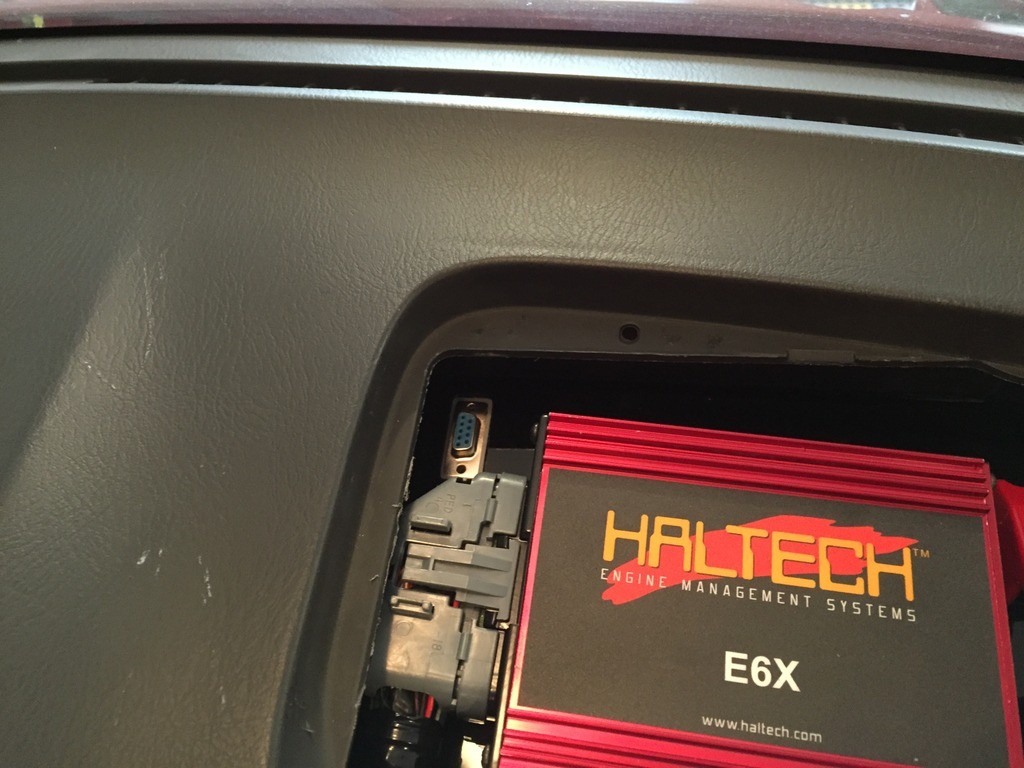
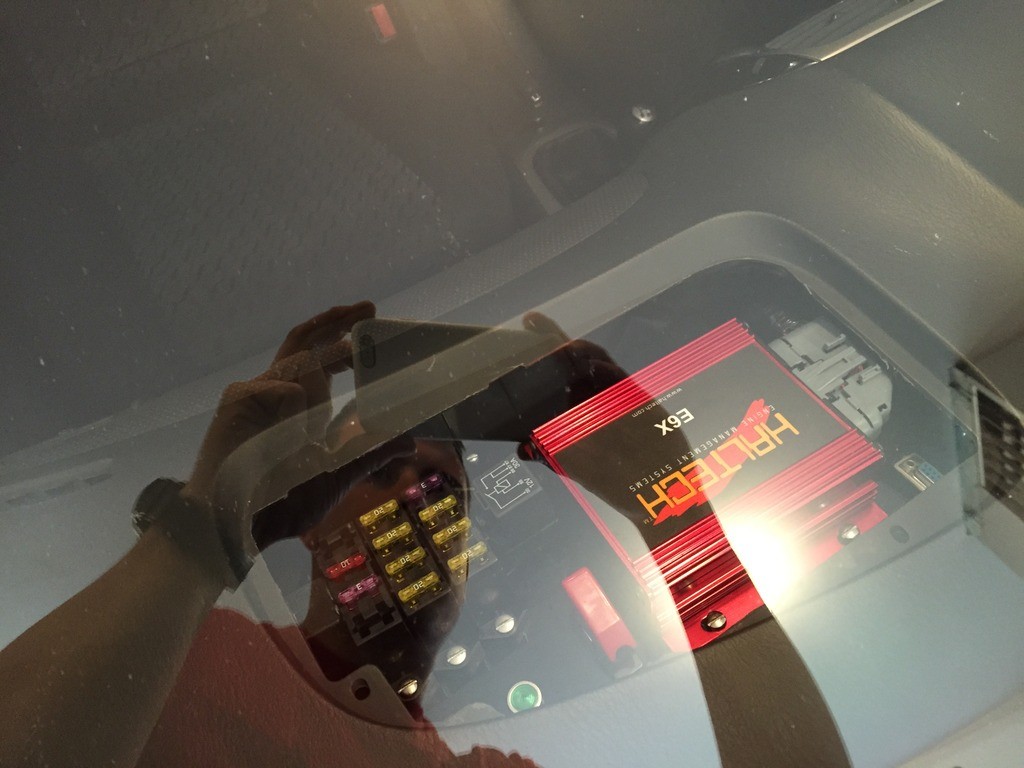
    Quick background of the major points, car is a 2002 Protege5, with a forged engine, built head, custom turbo setup, modified suspension, and standalone engine management system by Haltech. I have done all the work on this car myself. I like to think I pay attention to detail, you can decide for yourself. Without further ado, let's dive in!


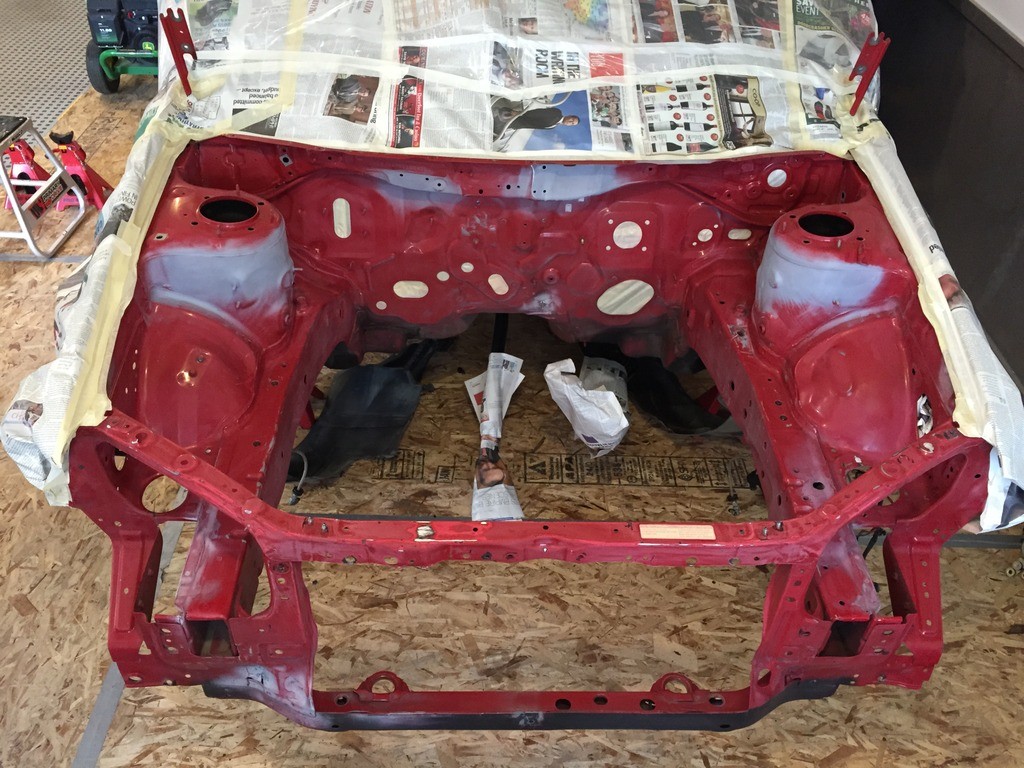
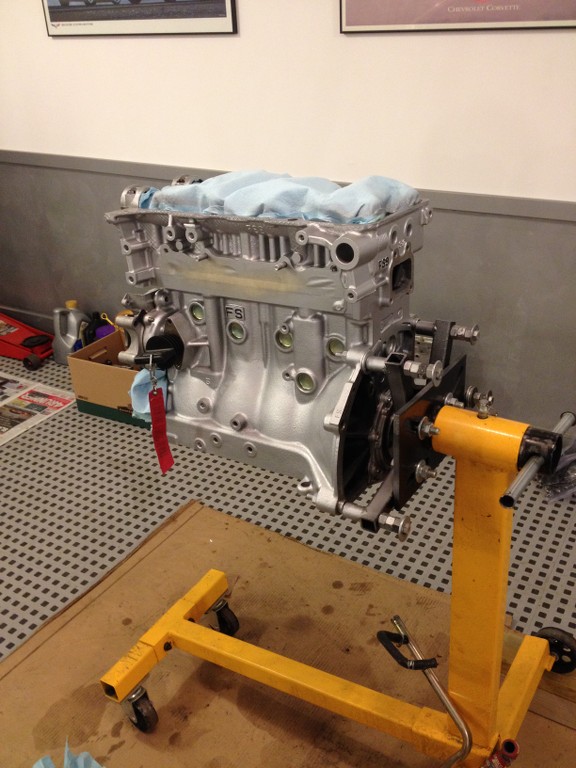
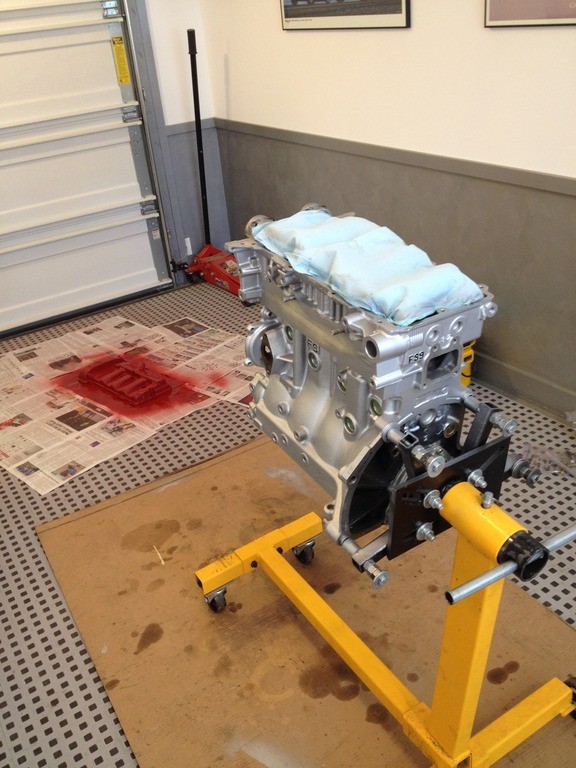
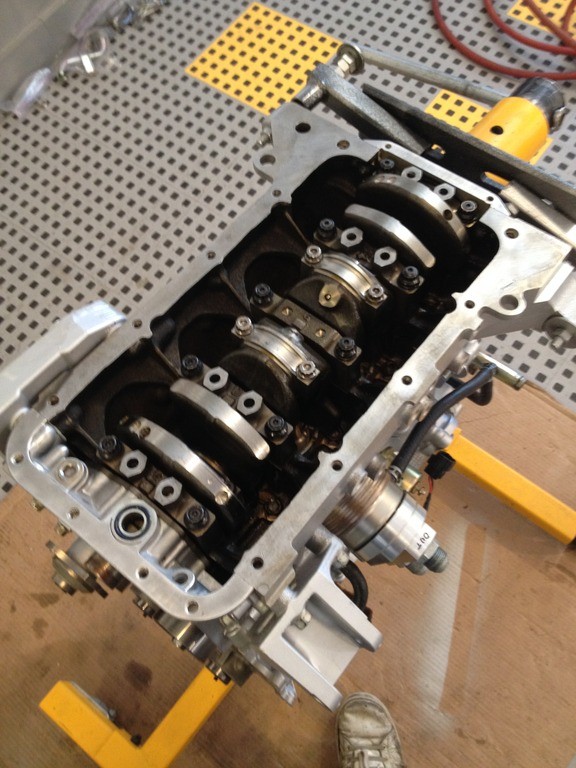
    The engine was fine, and barely has 3000Km on it since rebuild. CP 8.5:1 forged pistons, Pauter forged rods, balanced, blueprinted, ARP studs throughout, custom coated oil pump with external PRV, built head with Integral stage 3 turbo cams, Supertech 1mm oversized valves, etc. Thought she could use a fresh coat of paint while it was out, so cleaned, scuffed, and sprayed.


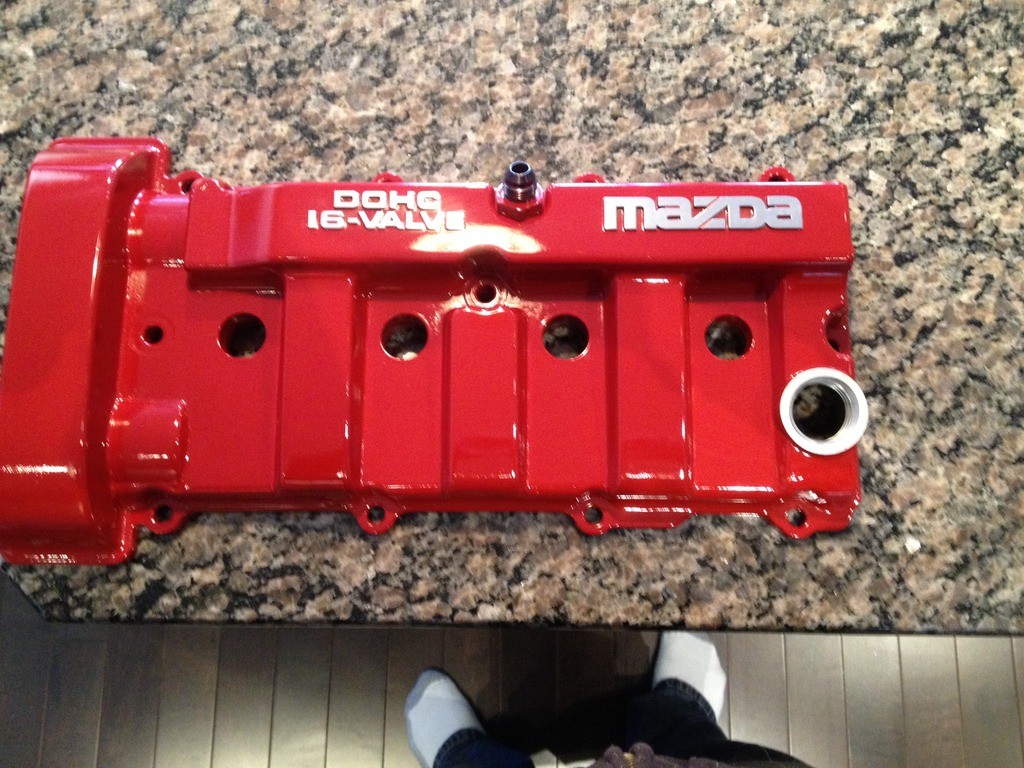
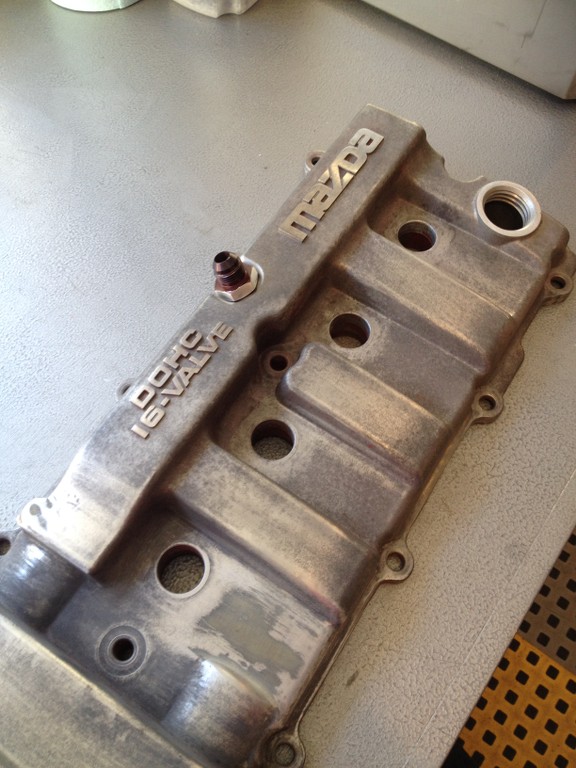
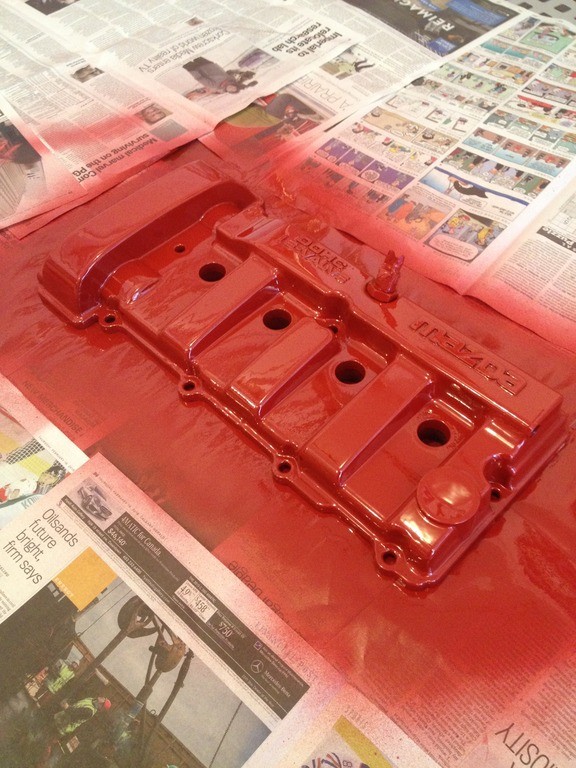
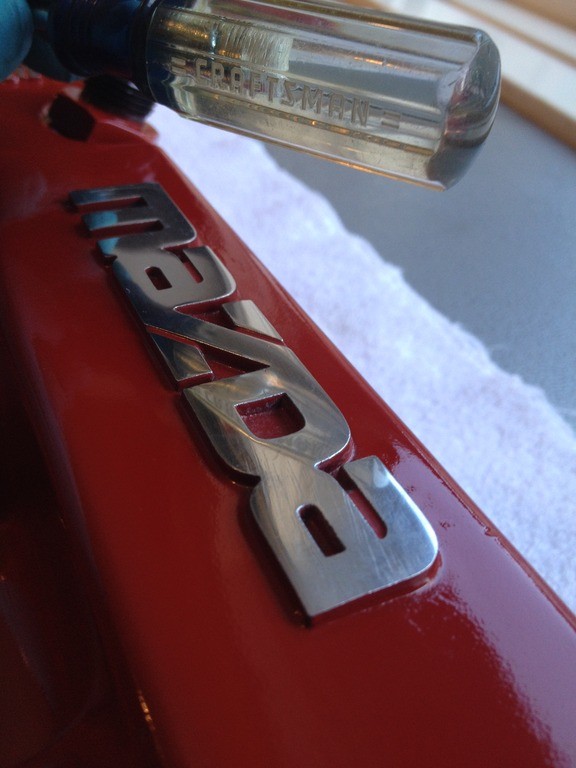
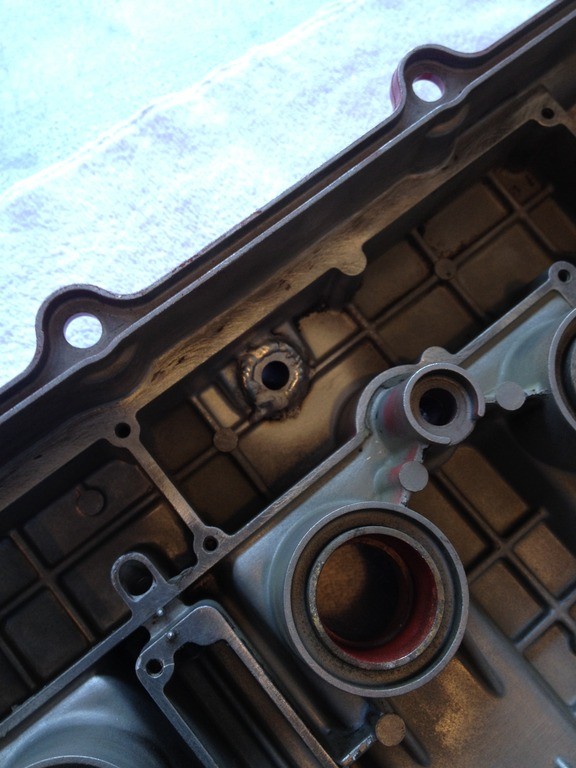
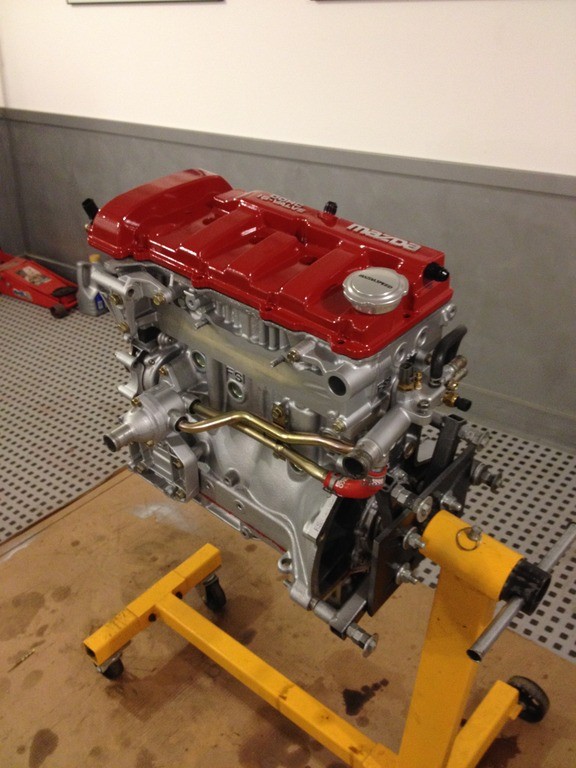
    626 Valve cover. Had legendboy weld in the fittings for my custom dual can PCV system.


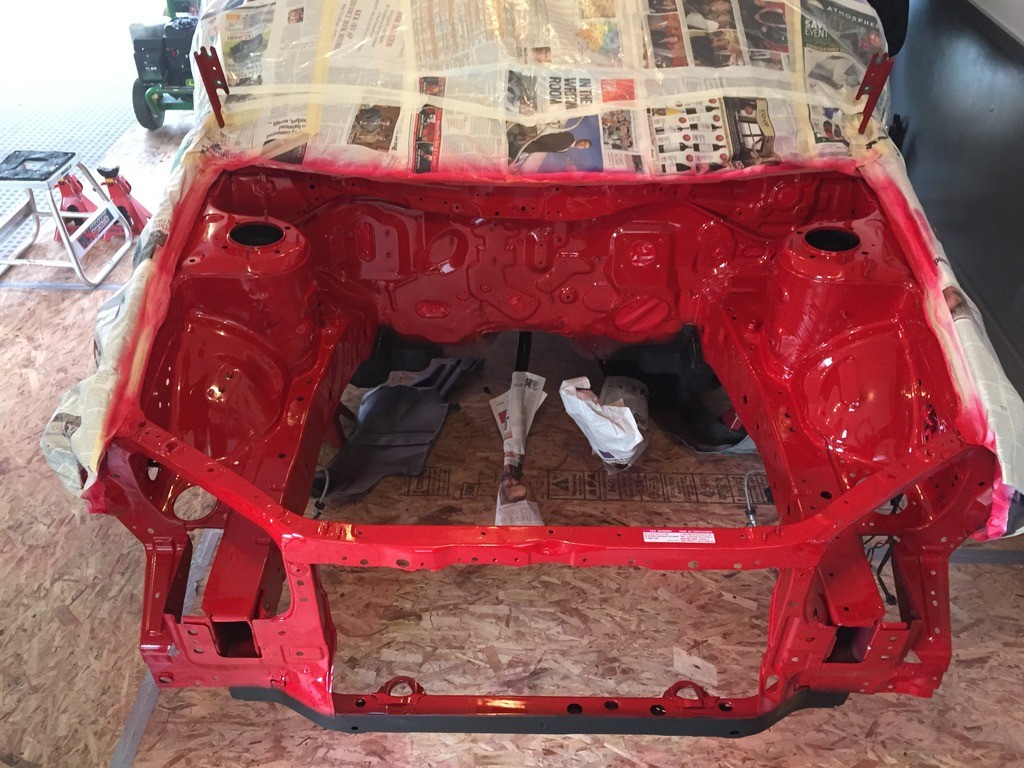
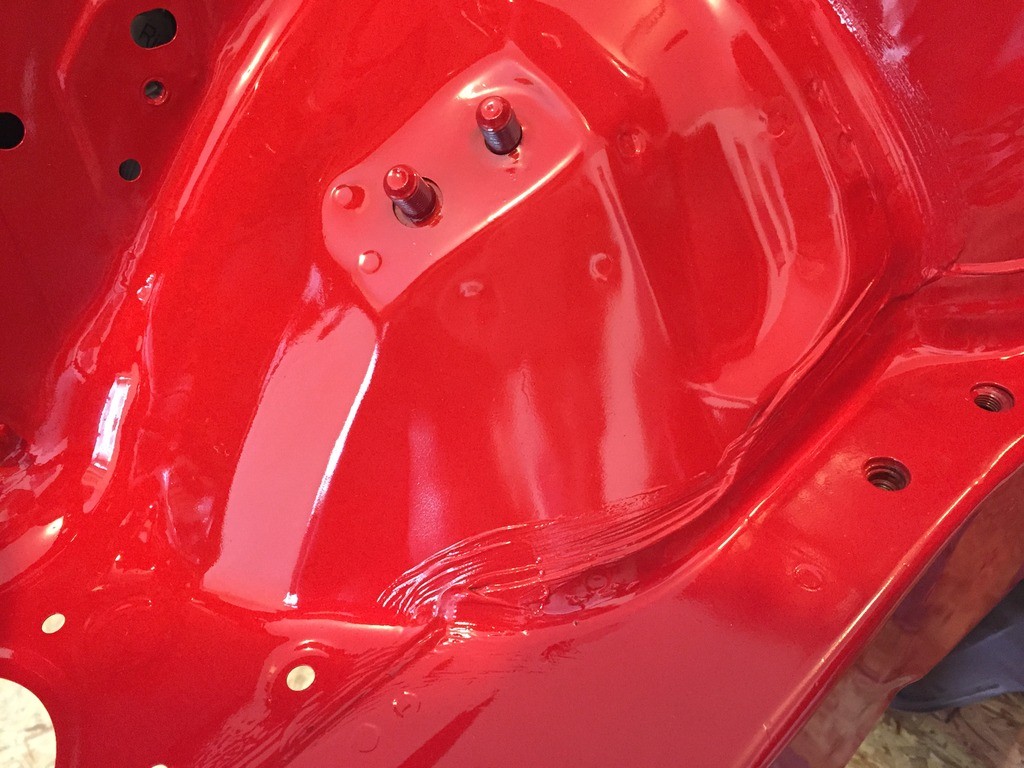
    Painted up with 3 coats of color and two coats of clear (engine enamel.)


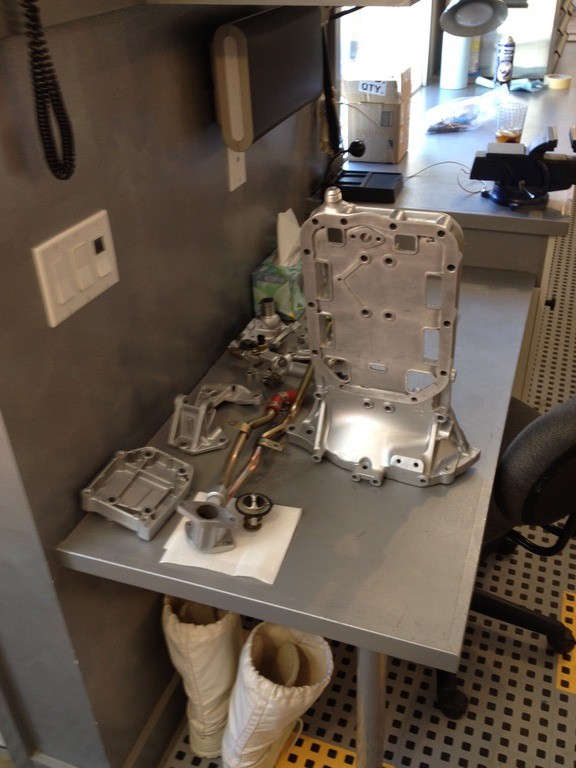
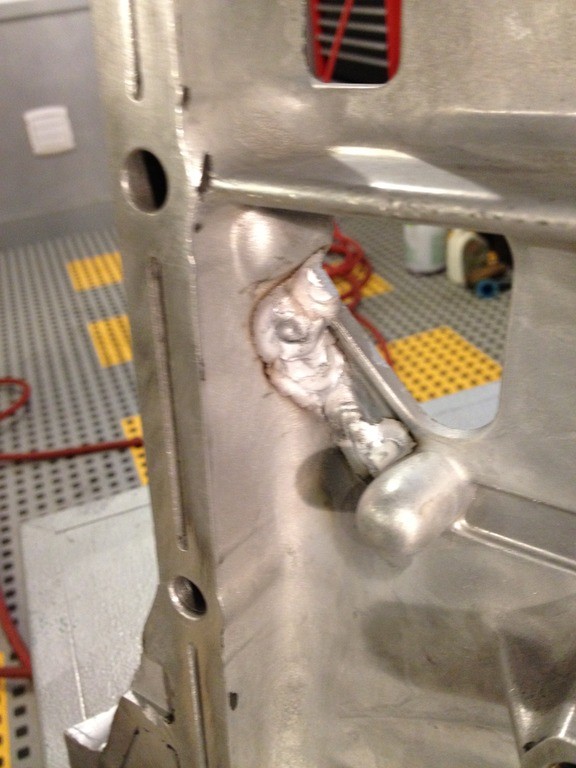
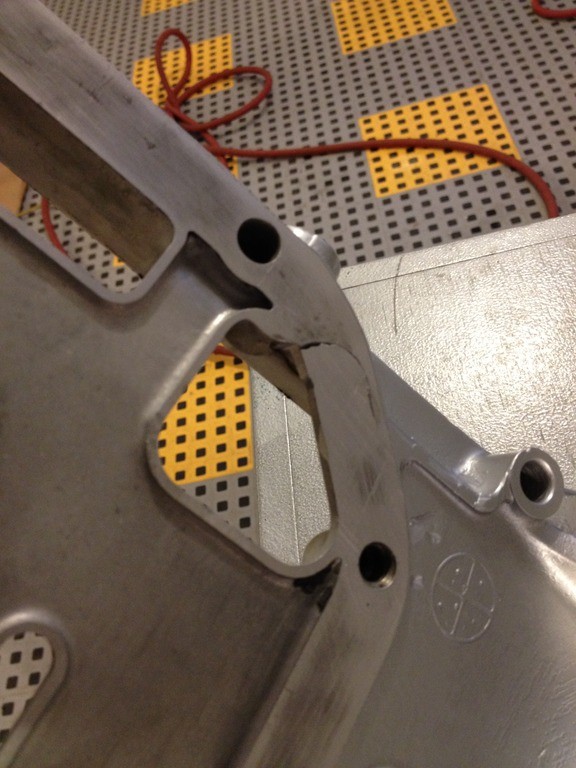
    Had legendboy also weld up a crack in my modified windage tray. Oil return for external PRV can be seen.


    After the block was dry, all threaded holes were re-tapped to remove any paint.

    ...

  2. #2
    Join Date
    Mar 2005
    Location
    Calgary
    My Ride
    Pushbroom
    Posts
    1,257
    Rep Power
    25

    Default

    Valve cover lettering sanded and polished.


    Shot of the bottom end. Nothing to see here.


    Valve cover dry fit and misc. hardware bolted back up.


    Last edited by Maxx Mazda; 08-14-2015 at 07:30 PM.
    ...

  3. #3
    Join Date
    Mar 2005
    Location
    Calgary
    My Ride
    Pushbroom
    Posts
    1,257
    Rep Power
    25

    Default

    Wiper stalk replaced with one from a Ford Escape to add intermittent function. (Not that this car ever sees rain anyways...)

    ...

  4. #4
    Join Date
    Mar 2005
    Location
    Calgary
    My Ride
    Pushbroom
    Posts
    1,257
    Rep Power
    25

    Default

    Got some new Tokico HP struts, and had my iON race spec springs powdercoated as they were looking a little dull. Also threw some OSB down on the bench for good measure!


    Looking shiny! (Also sweedish I just realized...)


    Removed the entire rear subframe, had it powdercoated, installed new bushings, and re-assembled. Also had the sway bars and front subframe powdercoated as well. Here the front is seen "dry-fit" back together.


    ...

  5. #5
    Join Date
    Mar 2005
    Location
    Calgary
    My Ride
    Pushbroom
    Posts
    1,257
    Rep Power
    25

    Default

    Dropped the gas tank. Drained it, cleaned it, and re-installed. Note that ANYTHING emissions related has been removed for some time.


    After the tank was re-installed, the entire rear subframe and all suspension components were installed and torqued to spec along with my AWR trailing links.


    ...

  6. #6
    Join Date
    Mar 2005
    Location
    Calgary
    My Ride
    Pushbroom
    Posts
    1,257
    Rep Power
    25

    Default

    Went to work stripping, rebuilding, and properly painting the rear calipers.


    A better shot of the underside:


    Wasn't happy with how I had the brake line brackets before, so fabbed up and welded in some new ones using all new hardware.


    ...

  7. #7
    Join Date
    Mar 2005
    Location
    Calgary
    My Ride
    Pushbroom
    Posts
    1,257
    Rep Power
    25

    Default

    Repainted the front Wilwood blocks. I had to hand do the white lettering. 
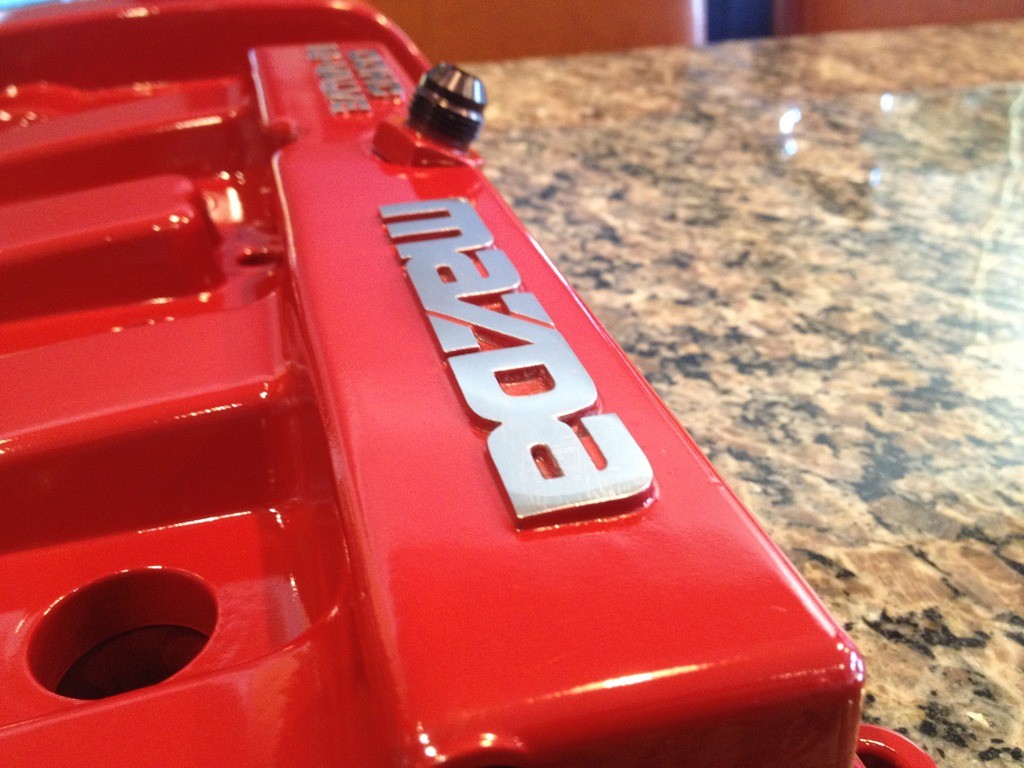
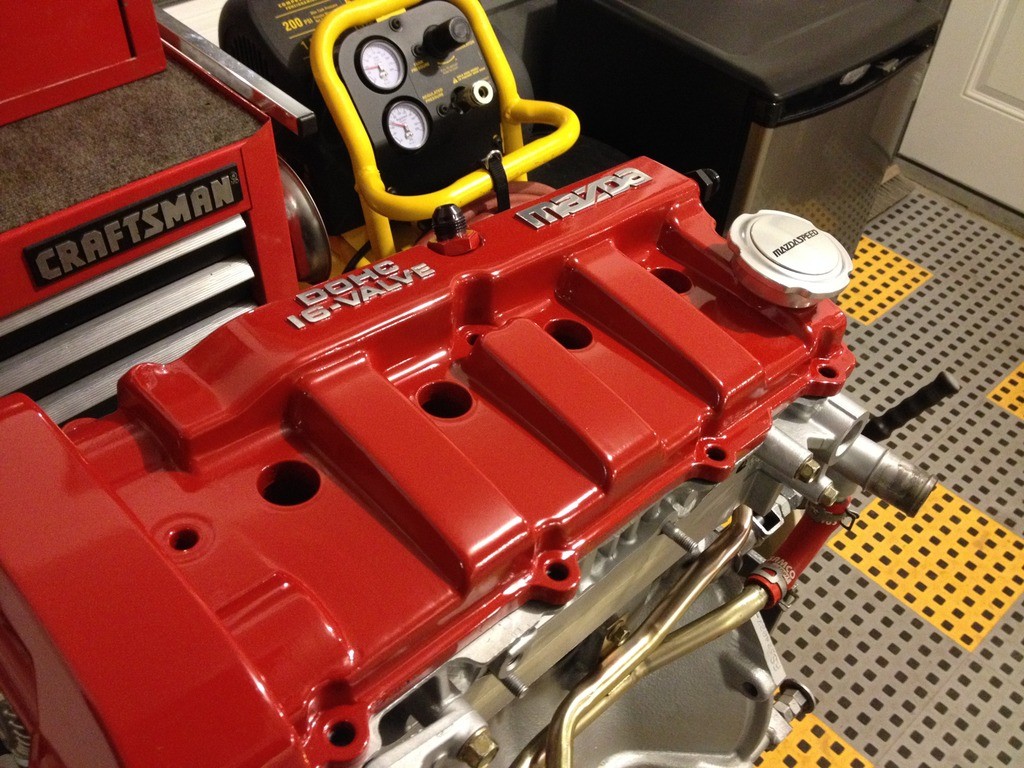
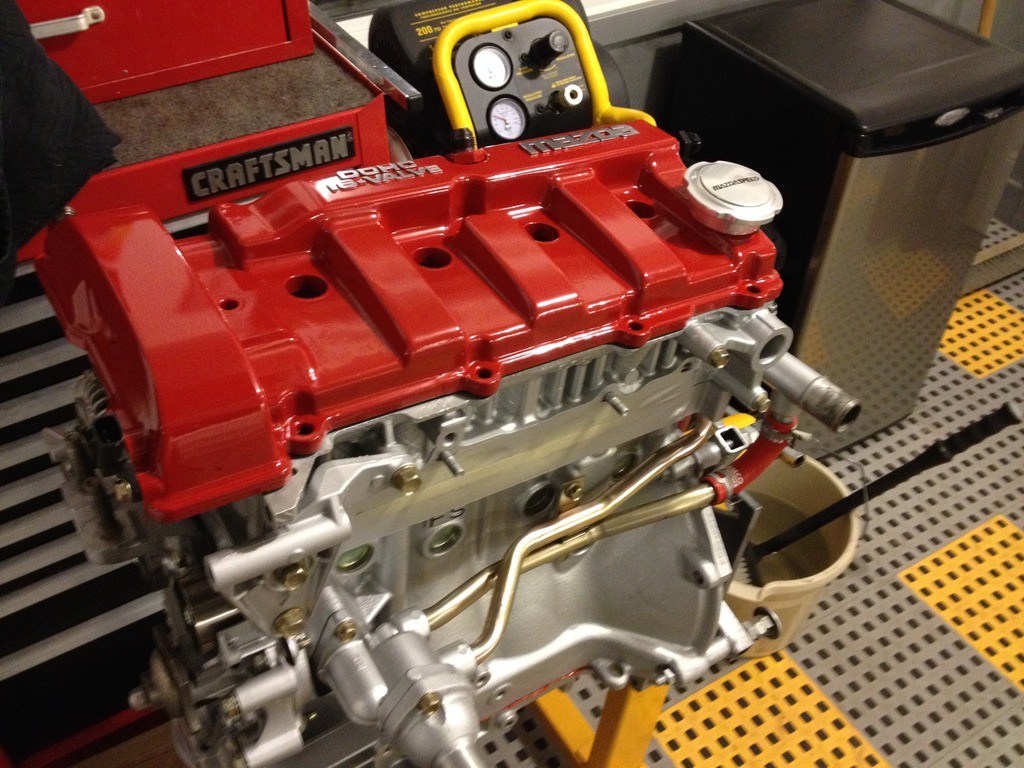
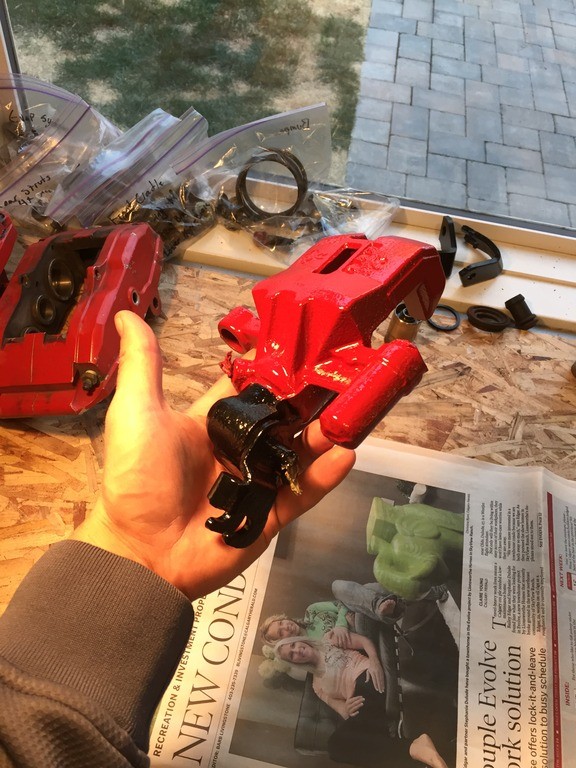
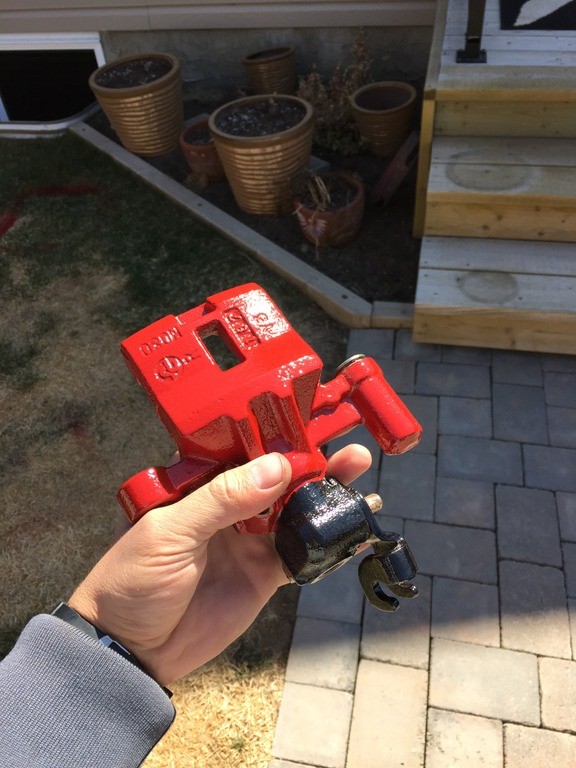
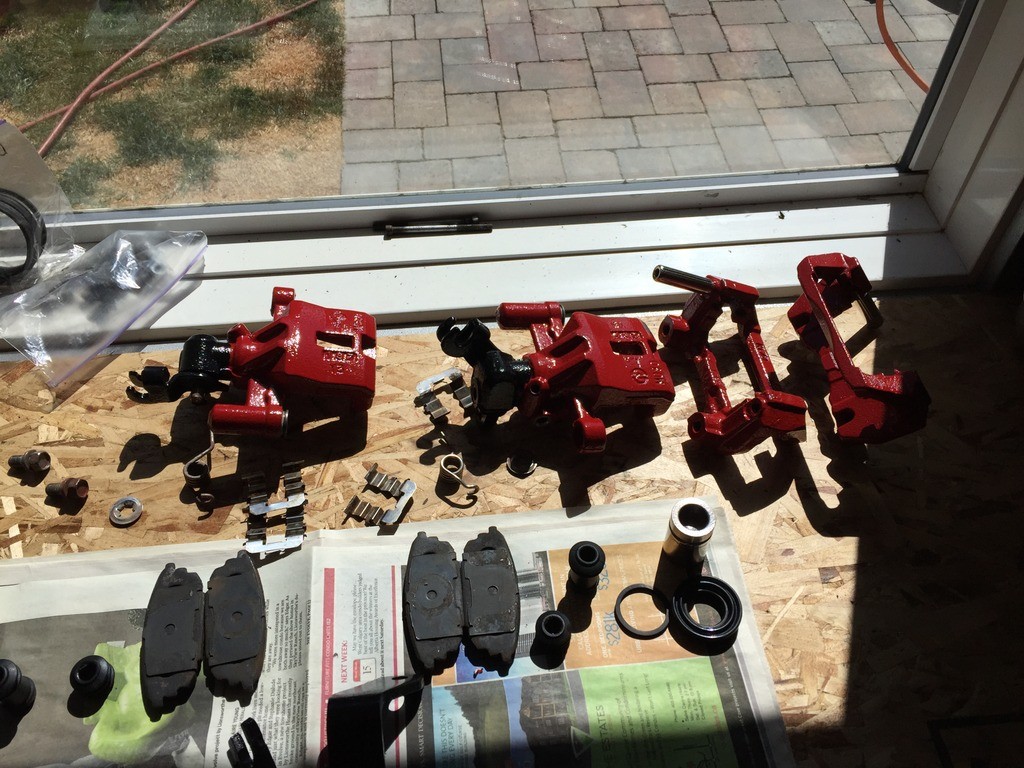
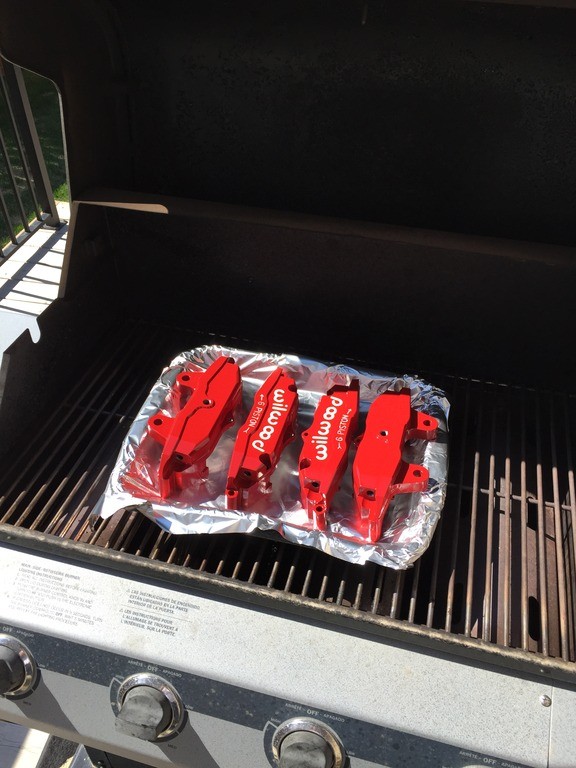
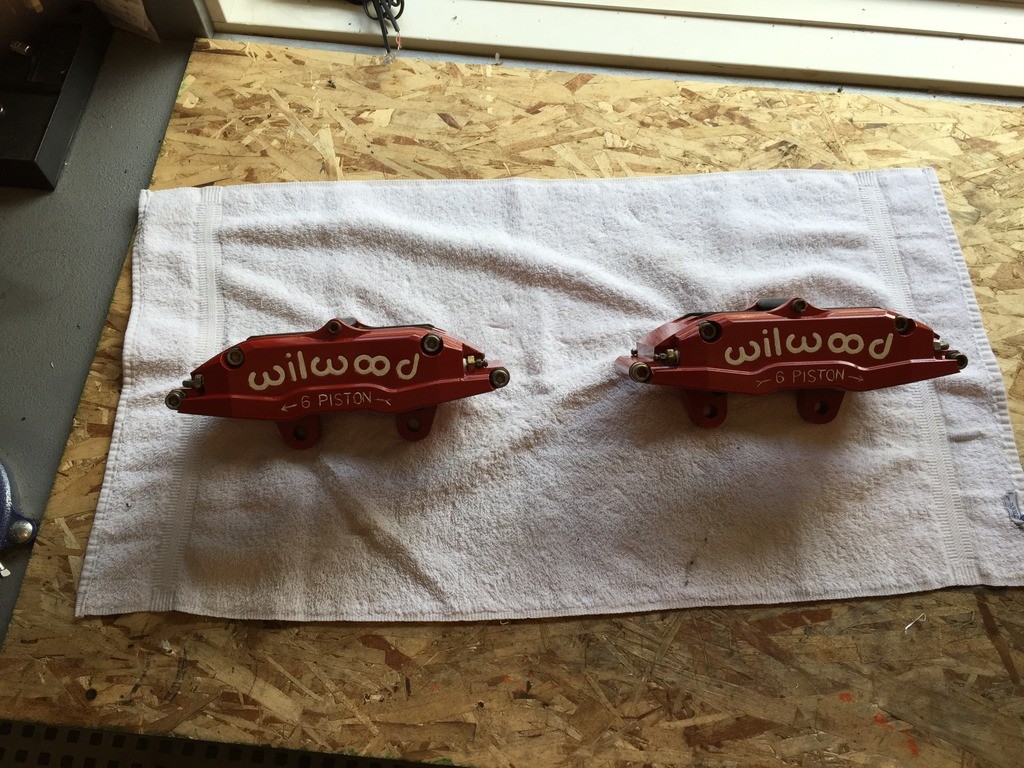
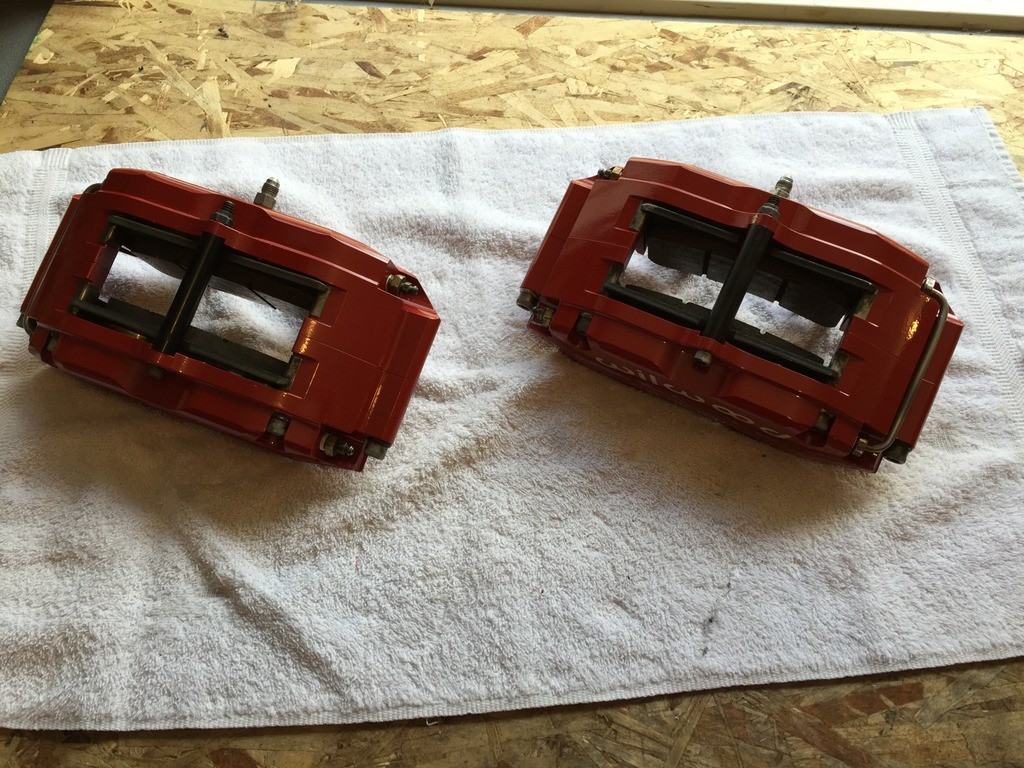
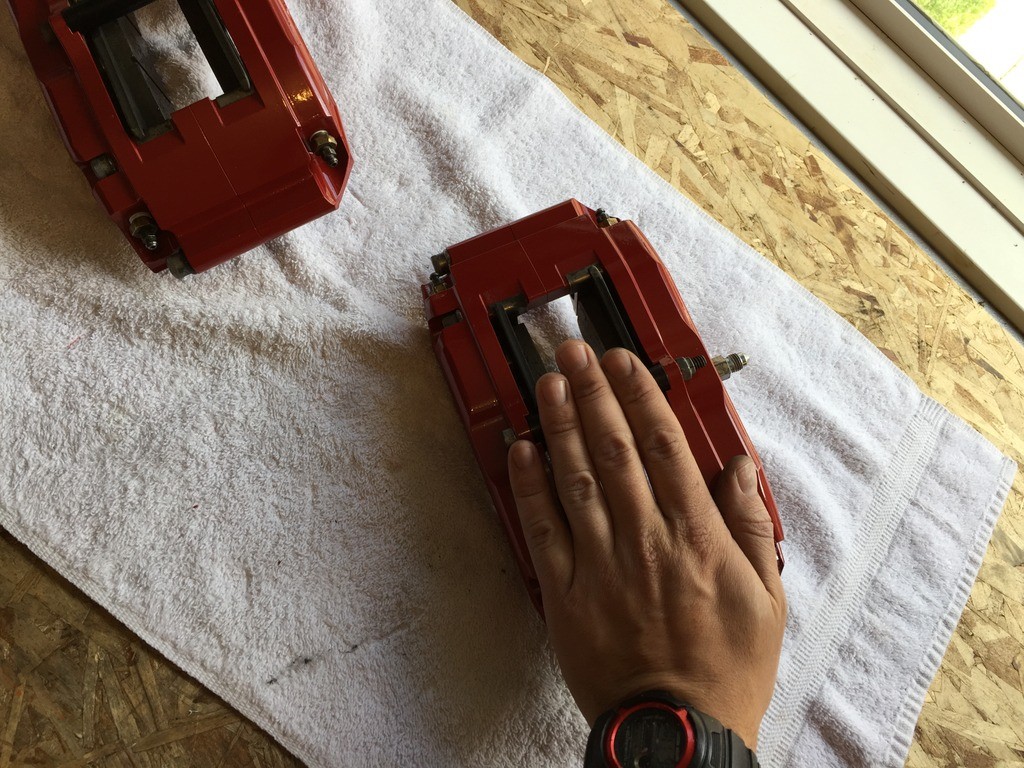
Baked them well to ensure a hard long-lasting coating with the high-temp DupliColor.


    For a long time, the wiring in this car has always bothered me. I decided to redo it, along with a mild tuck. There is hardly anything factory left in this vehicle anymore. As a testament to my previous work, removing everything I had done was a TOTAL PAIN IN THE ASS I'll spare you the details, but suffice it to say it took a long ass time. To begin, stripped all loom from the wiring, keeping in mind where it needed to run. Pulled the dash, and heater core / fan assembly. Had my shop helper too!


    Stripped everything from the engine bay in preparation for welding and paint.

    ...

  8. #8
    Join Date
    Mar 2005
    Location
    Calgary
    My Ride
    Pushbroom
    Posts
    1,257
    Rep Power
    25

    Default

    With the bay stripped, I was able to remove any standoffs that I wouldn't be using anymore, and weld up any holes that I would no longer be using. Then, the whole bay was prepped, primed, cleaned, and painted by yours truly. I'm happy with how it turned out.


    ...

  9. #9
    Join Date
    Mar 2005
    Location
    Calgary
    My Ride
    Pushbroom
    Posts
    1,257
    Rep Power
    25

    Default

    With the bay painted, I could move on to the wiring again. For the headlights (I have a PROPER Philips D2R retrofit) I decided to remount the ballast to the light itself for a much cleaner look.


    I wanted to make all the wiring "modular" meaning where I needed a connection, I would build an actual connector. Mini-molex type on all interior connections (no weatherproofing required) and Delphi Weatherpak connectors on anything exterior. Here you can see some progress on where I integrated everything into the dash harness (look closely!) Can't see it? Good. That's the idea. Make it look stock.

    Also made some progress of the layout on the inside.


    ...

  10. #10
    Join Date
    Jul 2009
    Location
    Calgary
    Posts
    818
    Rep Power
    15

    Default

    good job

  11. #11
    Join Date
    Sep 2006
    Location
    calgary / alberta
    My Ride
    VW R32 Turbo
    Posts
    785
    Rep Power
    19

    Default

    Awesome!
    Originally posted by sputnik
    Cell providers are the next Blockbuster video stores.

  12. #12
    Join Date
    Jan 2008
    Location
    Calgary
    My Ride
    Subaru WRX
    Posts
    432
    Rep Power
    17

    Default

    That valve cover is porn. Strong porn. This entire thread is basically fisting.

    Great job man, looking forward to more!!

  13. #13
    Join Date
    Mar 2005
    Location
    Calgary
    My Ride
    Pushbroom
    Posts
    1,257
    Rep Power
    25

    Default

    Decided I wanted to do something "cool" with how I mounted some stuff. I have a complete standalone fuse box for gauges, methanol pump, HID's, you name it. Keeps everything neat and tidy. Wanted to mount it somewhere accesable and that I could show off if need be, along with the Haltech. Decided to fab up a plate where the passenger airbag used to be. Cardboard mock-up.


    Various progress pics of the interior wiring. Had a schematic drawn up of what went where, along with the factory wiring diagram. Mounted the Haltech RA-10 (with the Autometer sticker on it for shits) in the passenger footwell as you can see, and as part of the wire tuck ran everything for the right side of the car out through a grommet I made in the passenger side fender well. These wires were all run one by one, and mocked up with zip ties and tape until I had everything where I wanted it. Words can not describe how time intensive this process can be. Take your time, and do it right the first time.


    Last edited by Maxx Mazda; 08-15-2015 at 01:00 AM.
    ...

  14. #14
    Join Date
    Mar 2005
    Location
    Calgary
    My Ride
    Pushbroom
    Posts
    1,257
    Rep Power
    25

    Default

    When deciding how to finish off the wires, I was debating different styles of loom. Corrugated looks like shit, but is easy to work with. The mesh style is alright, but I've used it before and I'm kind of bored of it to be honest. Decided to do a "RyWire" style heat shrink loom, with labels on the connectors. Did up a quick sample on the Cam and crank sensor plugs.


    Stealthed my methanol pump install. Notice the rubber grommet I added to the left of the pump. The hose will pass through here and travel up to the intake within the rad support, so you won't see it.


    Finished up the wire tuck through the passenger side fender. Used corrugated loom as you won't see it, and this will provide abrasion resistance.


    Horn relocated from grille to fender. It's shit like this that probably nobody will ever notice, but it contributes to the look of a clean bay as a whole. It's all in the details.


    Got the front calipers assembled. Hand for scale. And yes, they are amazing.


    ...

  15. #15
    Join Date
    Mar 2005
    Location
    Calgary
    My Ride
    Pushbroom
    Posts
    1,257
    Rep Power
    25

    Default

    Dash was reinstalled and wires ran. Take a second to look at the second pic. While I didn't have any of the wires mounted in their final locations, notice all of the plugs I built so that everything is modular. The entire dash can be unplugged and removed in about 15 minutes. Was this necessary? Absolutely not. I could have easily hardwired everything in permanently. Those damn pins take an ETERNITY to do, and every wire was soldered and heat shrinked on top of that. I don't accept anything less than perfection, so I always do it the best I possibly can. Once all those plugs were connected (I made sure to use different ones so there were no chances of mix up) they were loomed aside with the factory wiring to complete the factory look. Below the gauges in the center stack you can see a plug I built for the turbo timer as a prime example.

    I originally wanted to mount the diagnostic port in my cool airbag panel, but there simply wasn't room. So, while the dash was out, I welded a bracket to the dash frame for it, and it's easily accessible behind that trim panel. Why keep the diagnostic port on a vehicle with no stock ECU? I will explain this later. I have a trick up my sleeve.


    ...

  16. #16
    Join Date
    Mar 2005
    Location
    Calgary
    My Ride
    Pushbroom
    Posts
    1,257
    Rep Power
    25

    Default

    The factory brake lines come out of the ABS controller, go up OVER the brake booster, and down into the distribution block. I wanted to keep ABS for two reasons. The car comes equipped with electronic brake force distribution, which sends max braking power to the wheels with the most grip, and second, with those giant 13.5" front brakes and the Mazda 929 master cylinder, it is unbelievably easy to lock up the brakes without ABS.

    As such, I decided to make my own brake lines that went under the brake booster and will be completely hidden once the engine is in place. I began by making mock ups with coat hangar, to make sure nothing would interfere, then I cut, bent, and flared my own lines.


    After I had them made and fitted, I had them powdercoated aircraft grey. Because I needed new brackets, I picked some up at Mopac and drilled and tapped the body for the #6 machine screws, and the finished product looks quite slick if I do say so!


    ...

  17. #17
    Join Date
    Mar 2005
    Location
    Calgary
    My Ride
    Pushbroom
    Posts
    1,257
    Rep Power
    25

    Default

    Mounted the washer fluid bottle (which I use for my methanol) and plugged in its various connectors. Notice again every wire is heat-shrink wrapped. That means each connector had to be de-pinned, wrapped, and re-pinned. No small feat. Again, something that nobody will EVER see, but I know it's there.


    The alternator harness was also heat-shrinked and loomed nicely. It will clip into brackets behind the engine and won't be seen.


    After countless hours of ptototyping, I FINALLY decided amongst other materials to make my airbag plate out of acrylic. Had to cut it out, drill and tap mounting holes, and even build another plug for the switch and light. Tapping holes in acrylic is NOT fun! Beware cracking!


    And, with lots of fucking around, everything mounted. The switch will arm/disarm my anti-lag, the light indicated when methanol is being sprayed by the Haltech, the fuses and relays are easily accessible, and the Haltech date port for tuning is located top left.

    I can pop this cover off for car shows / tuning, and for street driving the stock airbag cover snaps into place and nobody is the wiser!


    ...

  18. #18
    Join Date
    Feb 2008
    Location
    Not Aspen
    My Ride
    teslo murdel free
    Posts
    3,709
    Rep Power
    23

    Default

    Holy crazy attention to detail. Nice work dude. Loved your old build thread and will continue to follow this one

  19. #19
    Join Date
    Mar 2005
    Location
    Calgary
    My Ride
    Pushbroom
    Posts
    1,257
    Rep Power
    25

    Default

    Thanks. I believe with any build it's all in the details.
    ...

  20. #20
    Join Date
    May 2009
    Location
    Calgary
    My Ride
    G37X
    Posts
    847
    Rep Power
    15

    Default

    Originally posted by eglove
    Holy crazy attention to detail. Nice work dude.
    My thoughts exactly, looking at the time and detail you're putting into this is amazing.

Page 1 of 5 1 2 ... LastLast

Similar Threads

  1. Replies: 87
    Latest Threads: 09-25-2017, 12:10 PM
  2. Vape and Build Night April 15, 2015

    By DENZILDON in forum Evolution Vape / The Vape Depot
    Replies: 0
    Latest Threads: 04-13-2015, 12:57 PM
  3. FS: 1 Ultra Music Festival 2015 Weekend Pass (UMF 2015)

    By MugenBB6 in forum Event Tickets / Attraction Passes
    Replies: 0
    Latest Threads: 01-15-2015, 12:21 PM
  4. Replies: 31
    Latest Threads: 01-16-2004, 11:38 PM
  5. Sicamous & Golden - Jan 9-11th - Tons of Pics

    By Ekliptix in forum Cars, Bikes, Machines
    Replies: 21
    Latest Threads: 01-13-2004, 08:20 PM

Posting Permissions

  • You may not post new threads
  • You may not post replies
  • You may not post attachments
  • You may not edit your posts
  •