


Ok everyone bear with me here! This is my first time doing a any sort of step by step picture guide but I'll try to be as thorough and detailed (pun intended lol) as possible. Most people on these boards have cars they want looking their best at all times, so I hope this can help in some shape or form
I've noticed over the last couple of weeks there's been threads asking about polishing exteriors, using clay bars, headlight restoration and much more. So I hope this can help everyone get a better understanding of what tools you'll need, how to use them, and what results you can expect using these techniques.
The goal to this thread is to make it as open as I can. If you have any questions about anything, products, techniques, tools etc, feel free to ask away and I will do my best to help out and answer them to the best of my abilities and knowledge allows. If I can't answer it off the bat, I will search to find the answer.
Keep in mind, this may not be industry standard! This is what, in my experience, has proven to work the best and produce the best results for me, and my customers.
I'm going to start off with exterior polishing. The absolute key here is cleanliness. Making sure the car is a clean as possible from the get go will ensure proper results. Do a solid wash to start. Start from the top and work your way down. The more soap and suds the better!
Step One: Car Wash
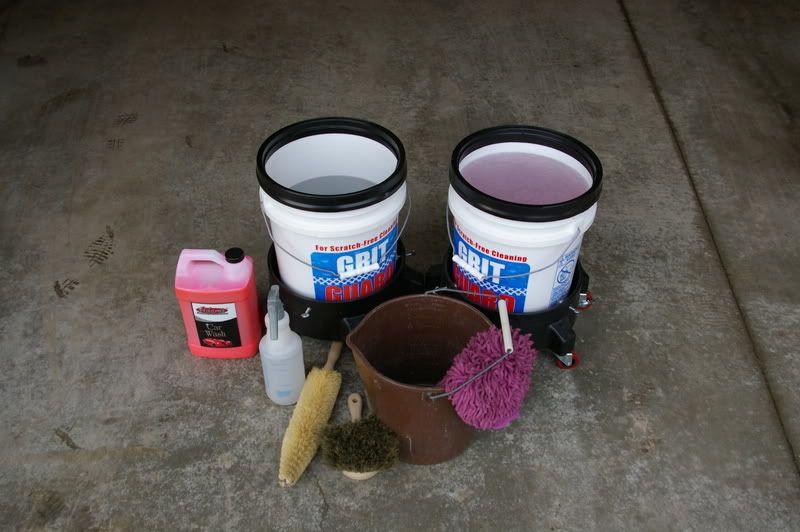
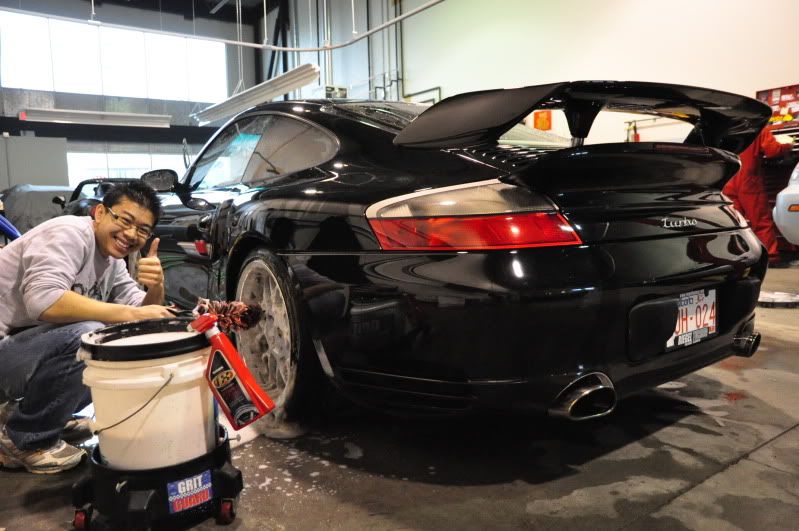
I use the two bucket wash method, combined with an electric pressure washer, a third dedicated bucket for cleaning the rims, an assortment of brushes, toothbrushes, microfiber wash mit, as well as a foam cannon attached to a garden hose.
Old picture with some of the tools. I will update with the foam cannon later.
What is the two bucket method??
It's having one dedicated rinse bucket and one dedicated soap bucket. Your mitt will only ever travel from the rinse bucket, then to the soap bucket, then to the car. Never the other way. All the grime taken off your car will fall into the rinse bucket, then only a clean mitt enters the soap bucket and on to your car. This all but eliminates enducing more scratches into the paint during the washing process.
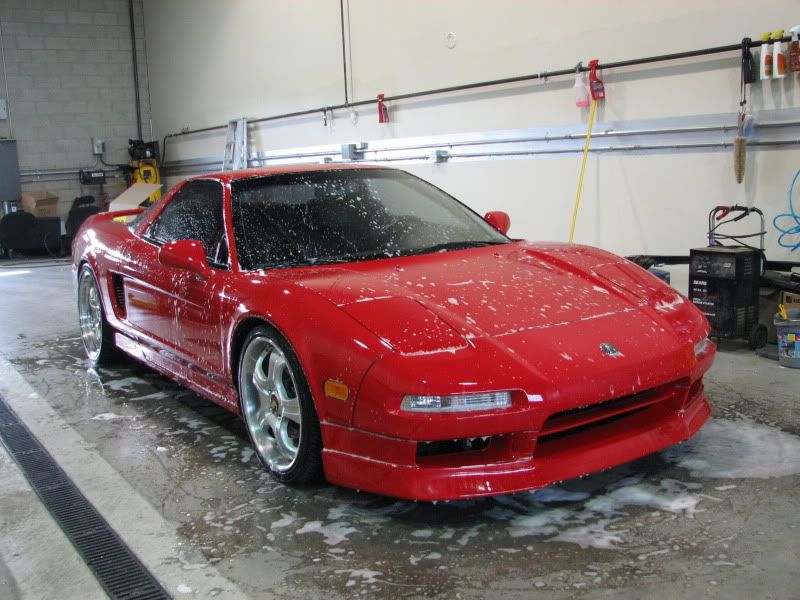
Now wash your car! Start at the roof and work down, always making sure there's ample soap and water at all times. This might all seem easy but when you're working with a black car, being as careful and thorough as possible will save you a lot of hassle in the long run.
Dont forget to open the door and scrub the jams now, you can use a tooth brush and a garden hose as to not soak your interior. If you're polishing your car you don't want any dirt falling out of the jams and into your path of polish. No good will come...
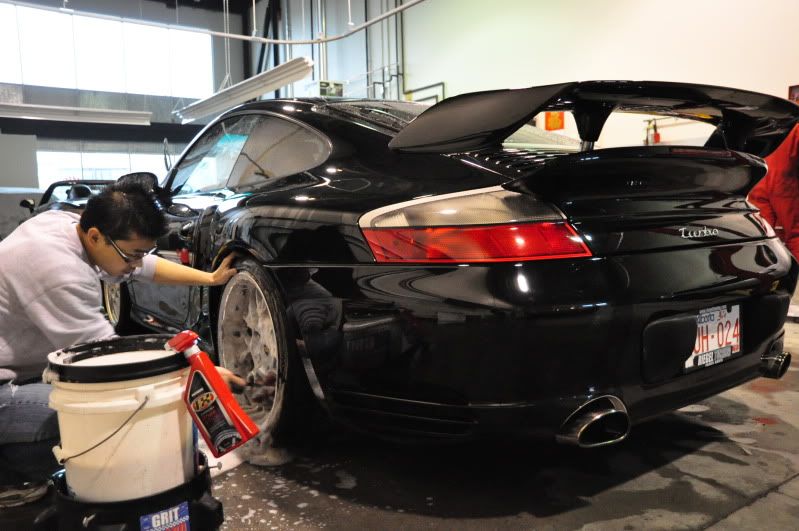
Last of all, scrub your tires and rims. Mother's has a good wheel cleaner that's safe for all types of rims. Just let it sit a couple minutes, scrub it lightly with a soft toothbrush, or any dedicated wheel brushes.
Thank you Perry for modeling for the demonstrations
Sorry I had to post that picture lol...
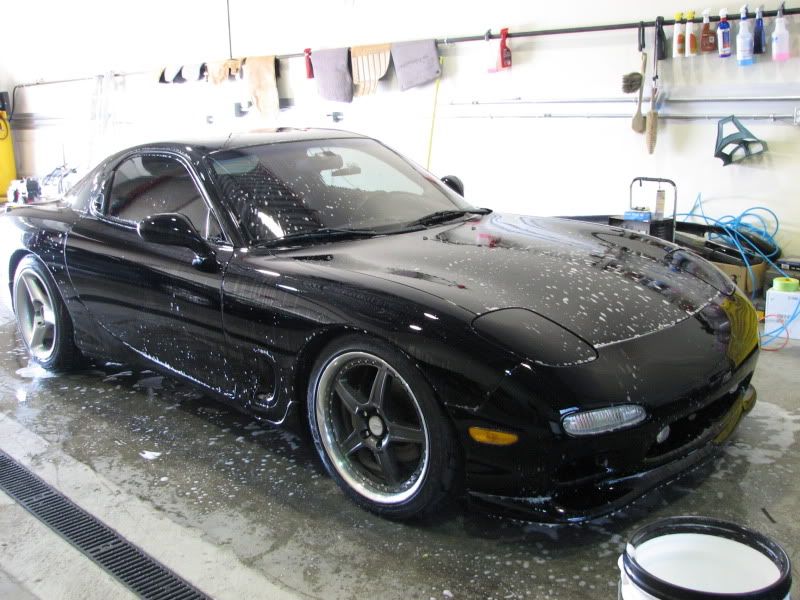
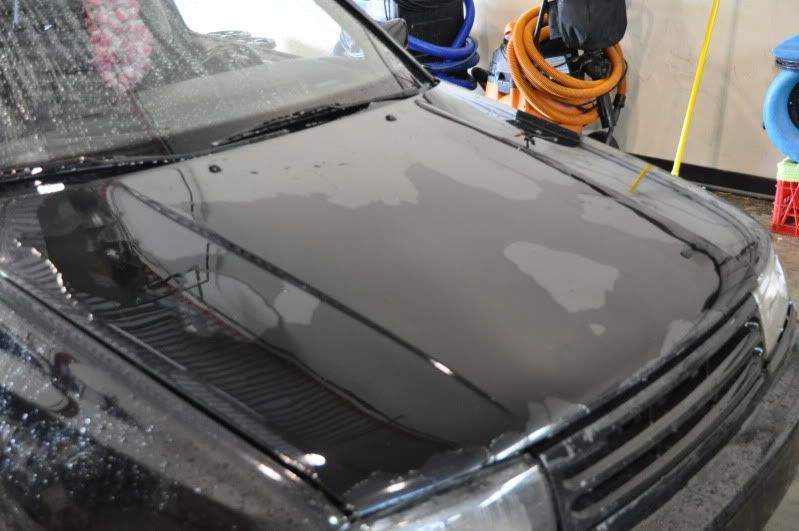
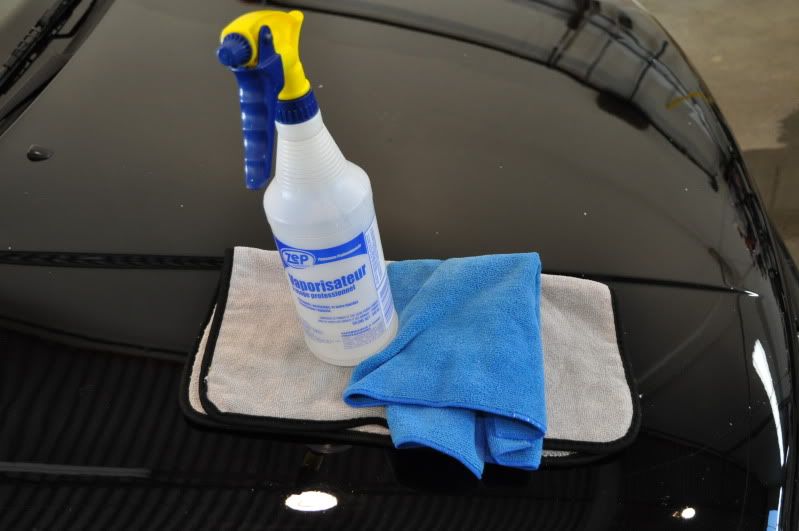
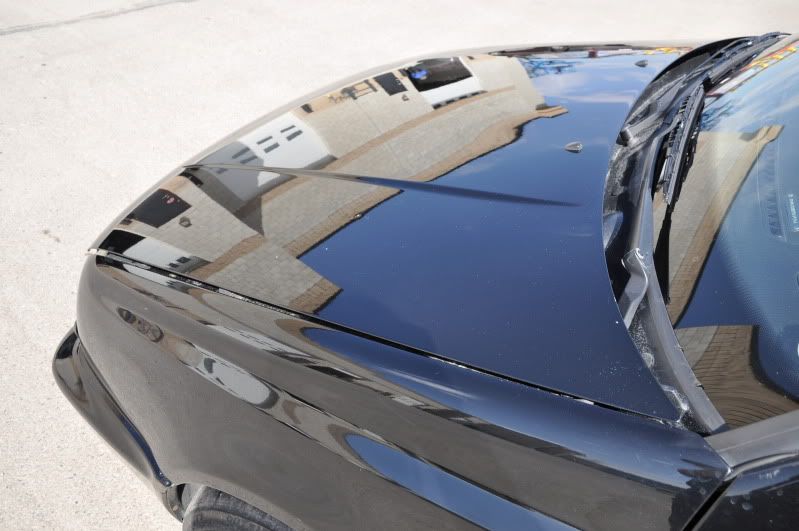
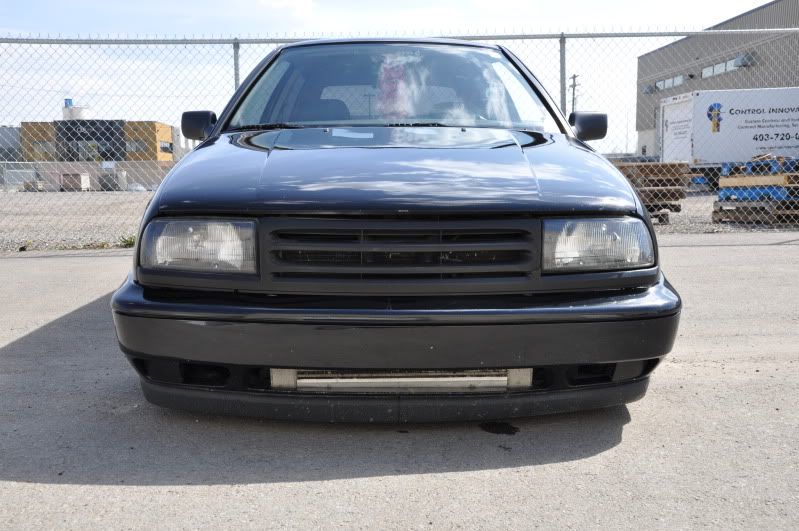
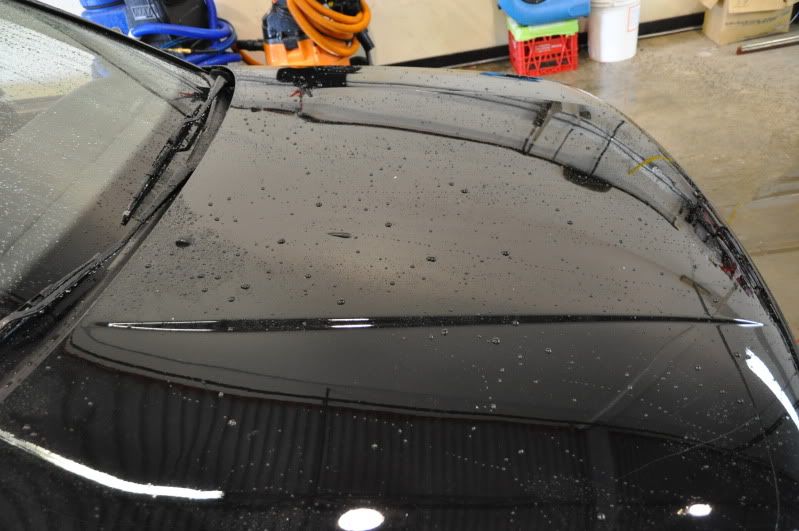
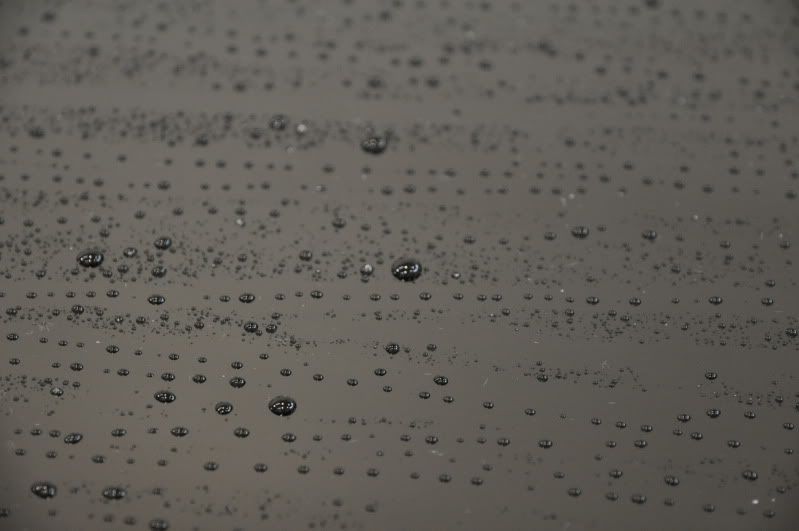
After the rims are done, give the whole car a good solid rinse. Now is a good time to see how your paint protection is holding up.
This is a good picture showing a car with absolutely no protection left. This effect is known as "Sheeting". There's no water beading at all and the water is just sitting on top of the paint. This is no good.
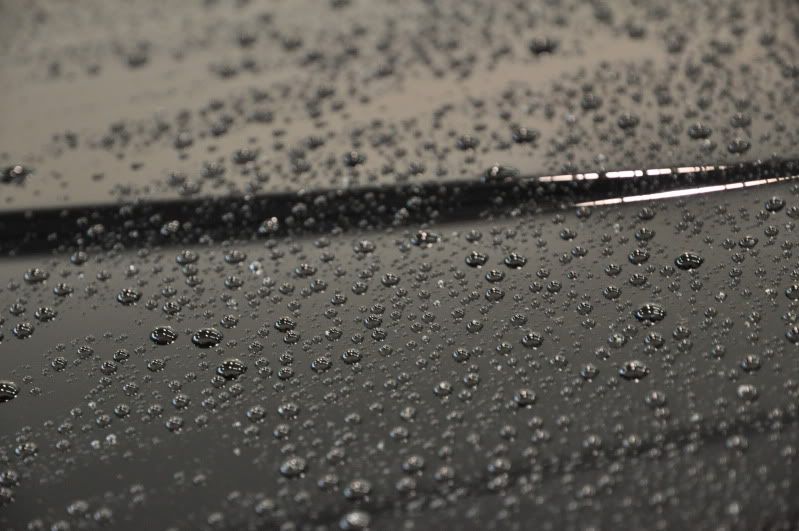
Closer to the end of this installment I'll show exactly what I mean by "water beading" and what it should look like. For now we will continue on.
Step Two: Clay Bar
This is very important. Running a clay bar over the top of your paint will remove most surface contaminents. This is essential when you're going to be polishing or applying any protectant.
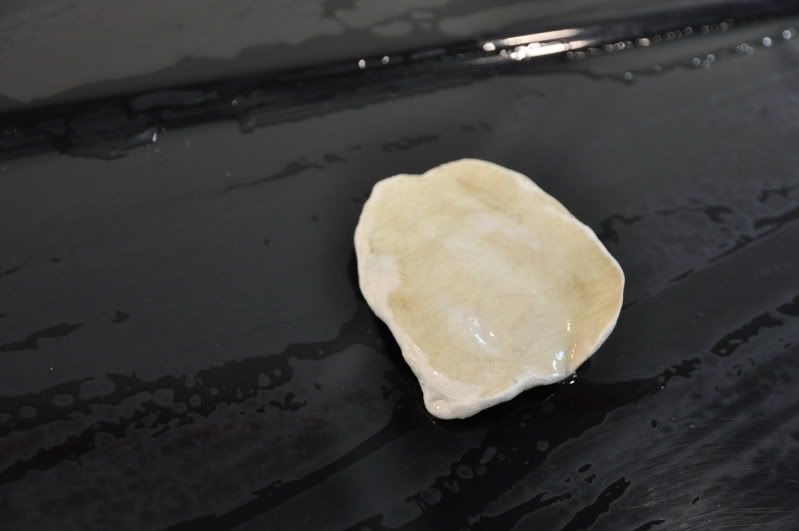
First, make sure the paint is properly lubricated. You can do this while the car is still wet from the rinse, or buy clay lubricant or quick detailer that's sometimes provided in a kit. Don't over-saturate the area, but use just enough so the clay glides effortlessly across the surface. The proper way to do this is running the bar in slow, straight movements back and forth. Not brisk, circular movements. I also like to drag my fingertips along the paint while the clay is in my palm. This way I can feel the surface of the paint as I go and can tell when the contaminants have been removed from that panel. As you go you'll notice the clay begin to take on the dirt and become discoloured. This is when you should kneed the clay like dough and move all the contaminents into the center, revealing fresh new clay to continue with.
This is after doing the hood of today's demonstration vehicle. You can see all the dirt caught in the clay.
After you've clayed to entire painted surface of your vehicle, you can now dry it. Open all the doors including the hood, truck and gas cap and allow everything to dry thoroughly. Don't forget the side view mirrors!
Now if you're going to be doing a heavy correction over the entire vehicle, tape off everything that may get damaged, gather polish, or damage your polishing pad. I also open the hood and drap a large towel over the wipers blades to protect them from possible sling, dust and contact with the polishing pad.
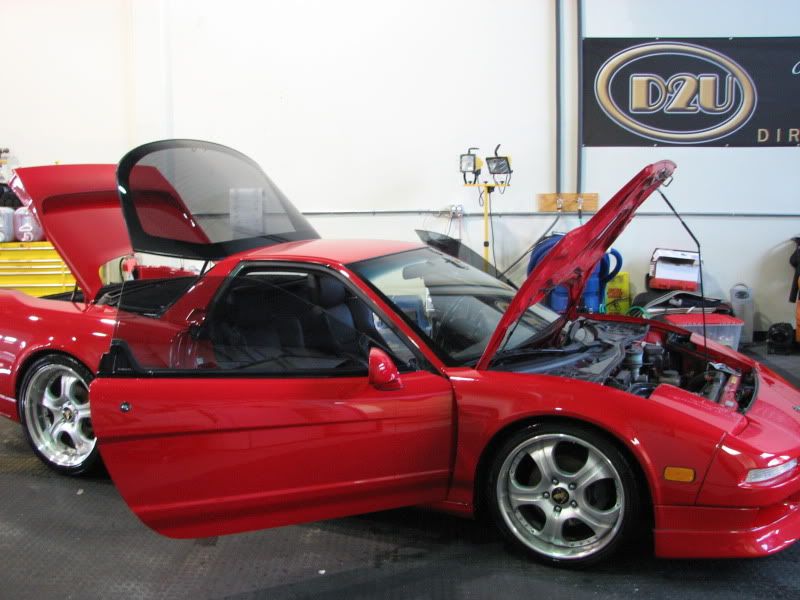
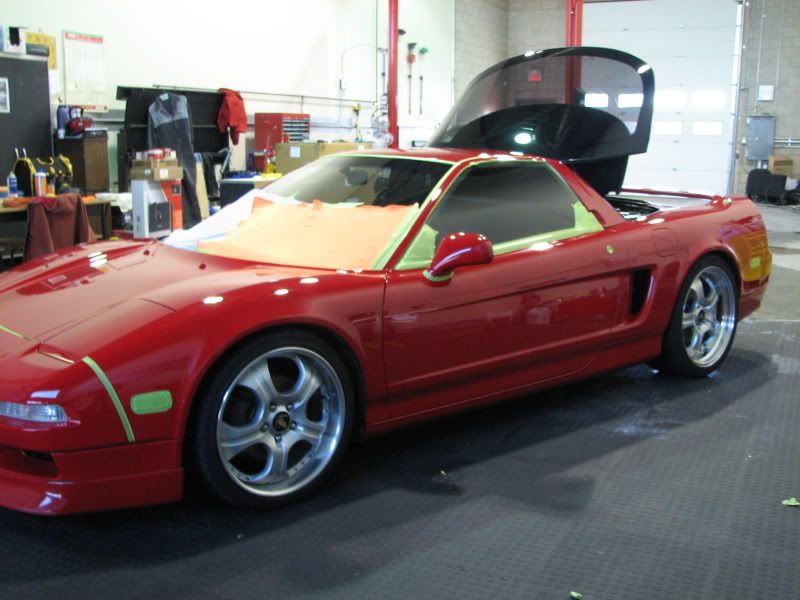
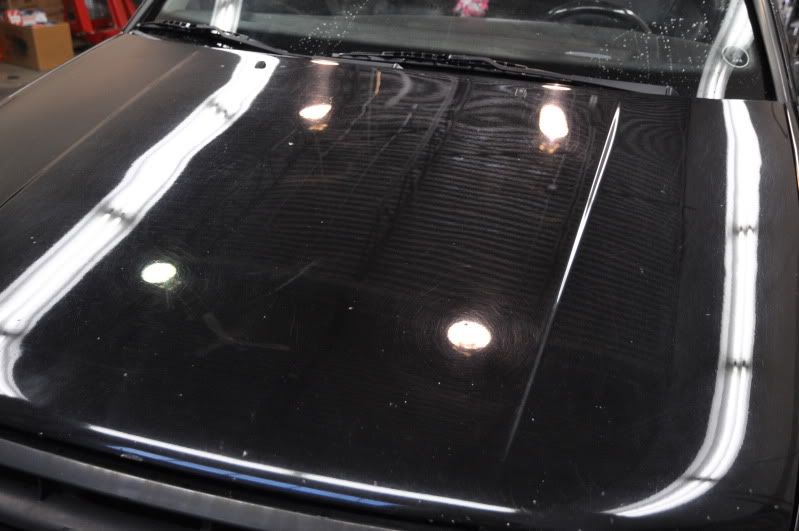
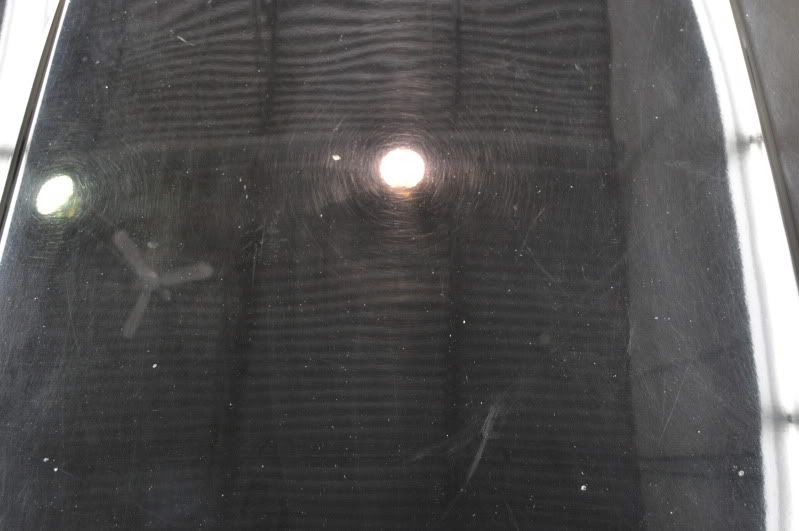
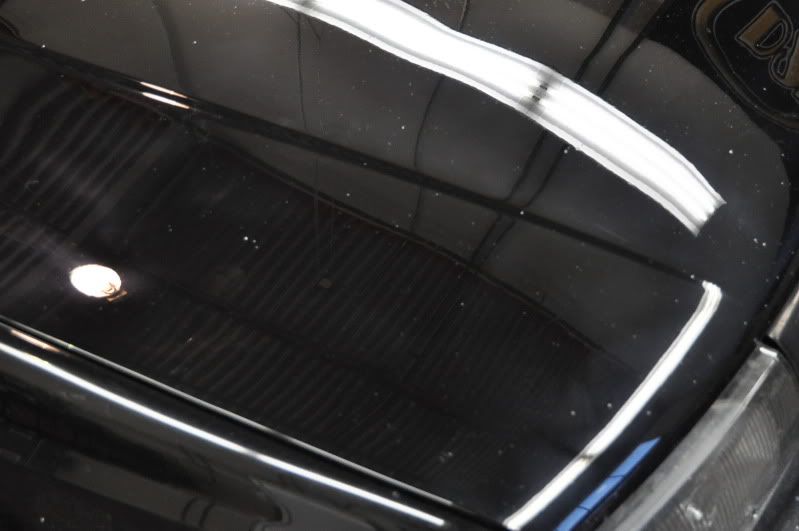
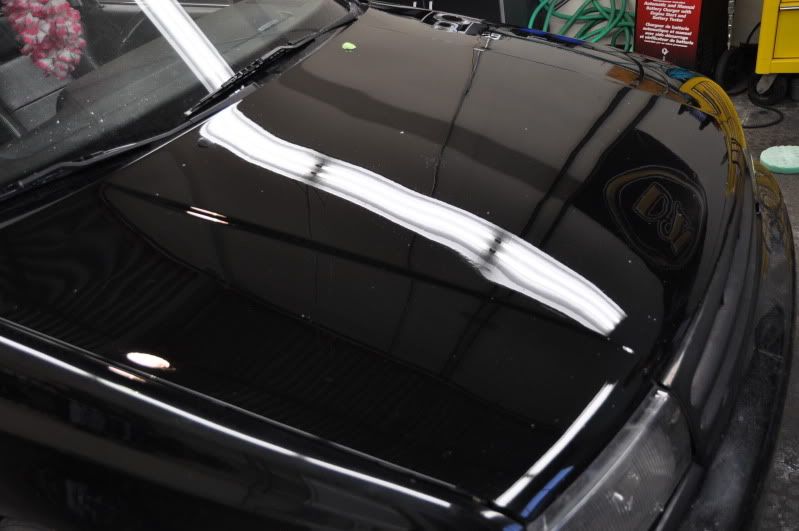
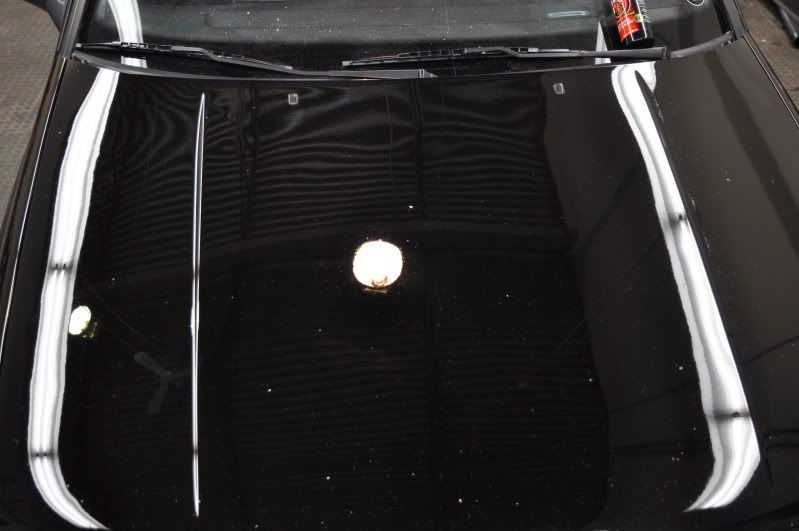
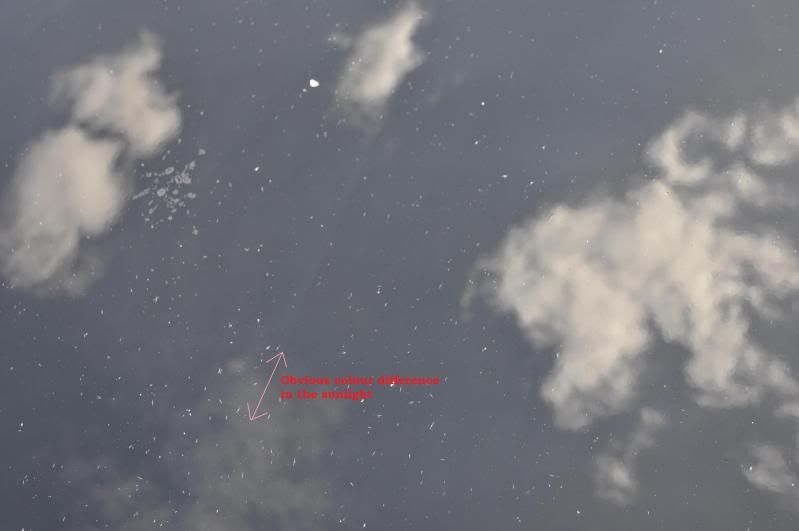
Now it's time to get the full view of how damaged your paint surface is! This can be the scary part. What you thought was relatively scratch free paint, may turn ugly under proper lighting.
Here's a couple shots of todays demonstration vehicle. Several places has evidence of clear coat failure (due to improper repaint sometime in it's lifetime) unfortunately these will not improve after this process. And it's also littered with rock chips. Regardless, we will press on.
This is bad lol.
Step Three: Polishing
Now the key here is finding out how heavy of a cut you need to use to achieve your desired results. Start with a light or medium cut, do a test patch, and check your results. If you're not happy, step up your game with a heavy pad/polish combo until you get what you're looking for. Never jump right to the heaviest cut, that could actually add a lot of extra unneccessary work to your already long process ahead of you.
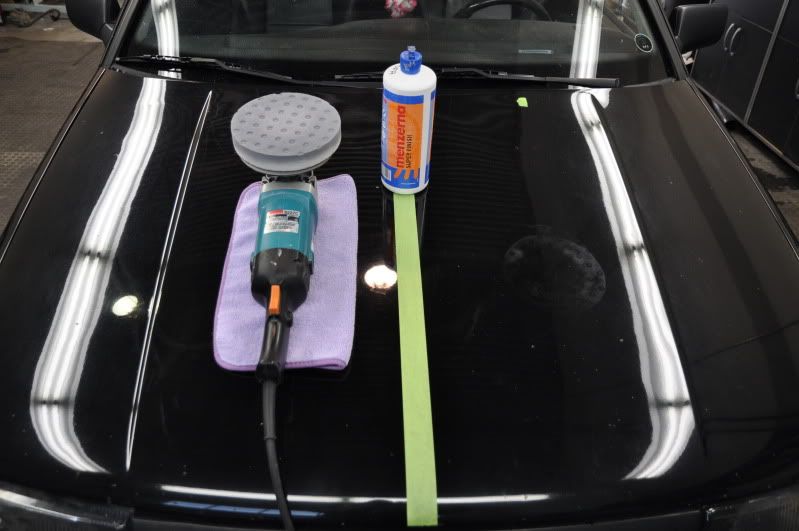
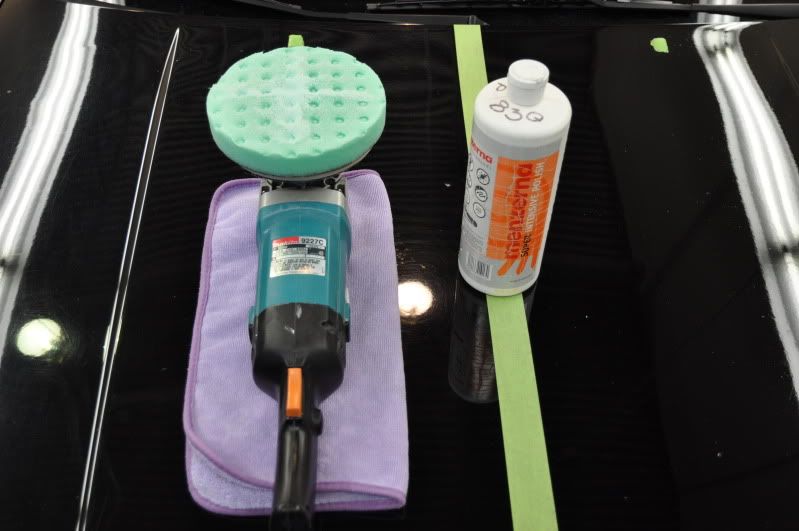
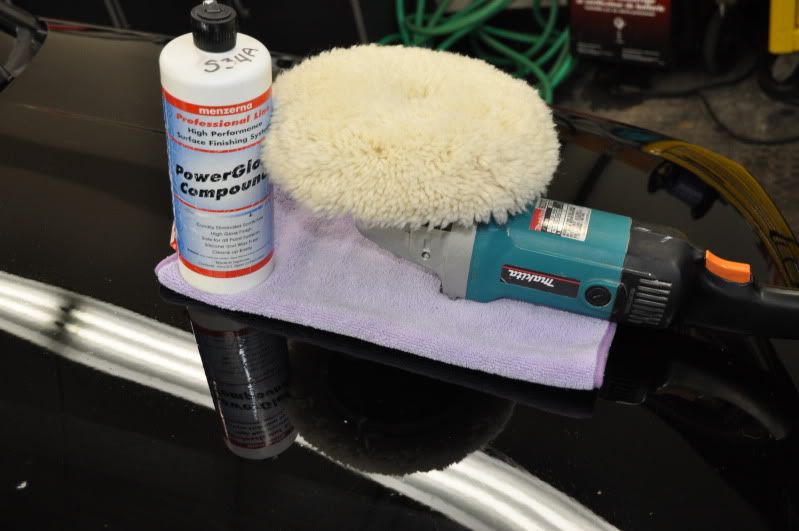
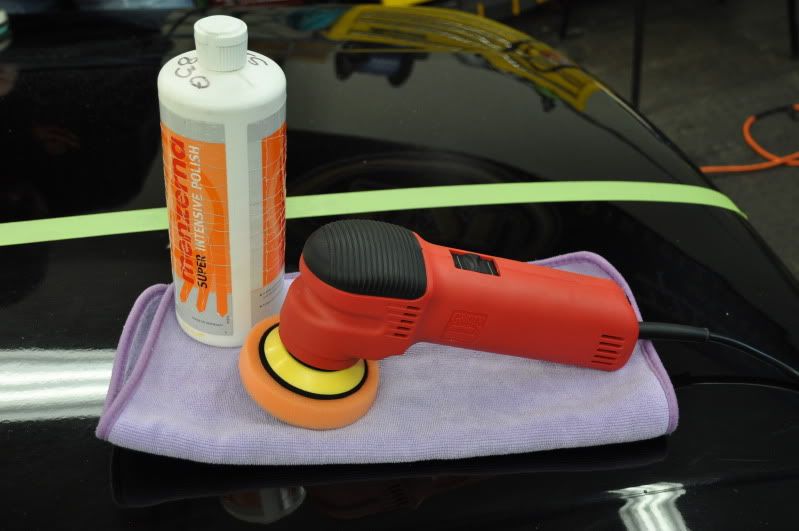
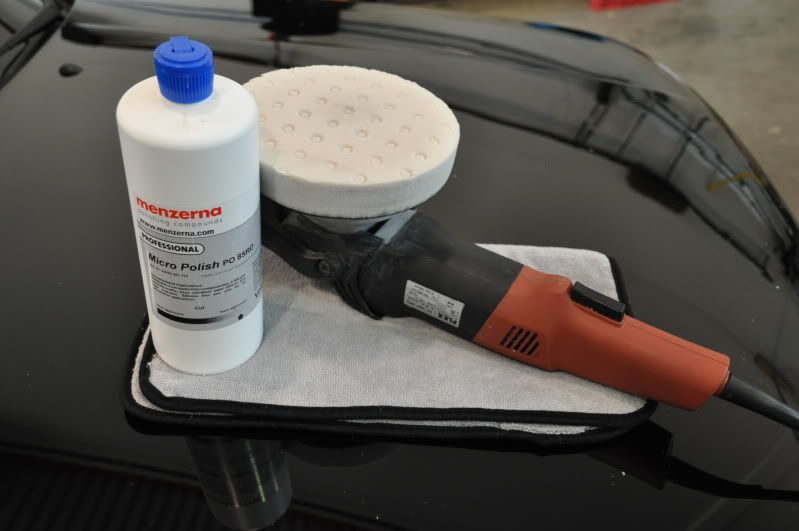
Here I'm starting with a nice medium polishing pad and a medium scale polish, nothing to heavy (those are also known as compound polishes).
Take notice, here I'm using a rotary polisher, not a dual action (orbital) polisher. I will make a write up later expaining the differences.
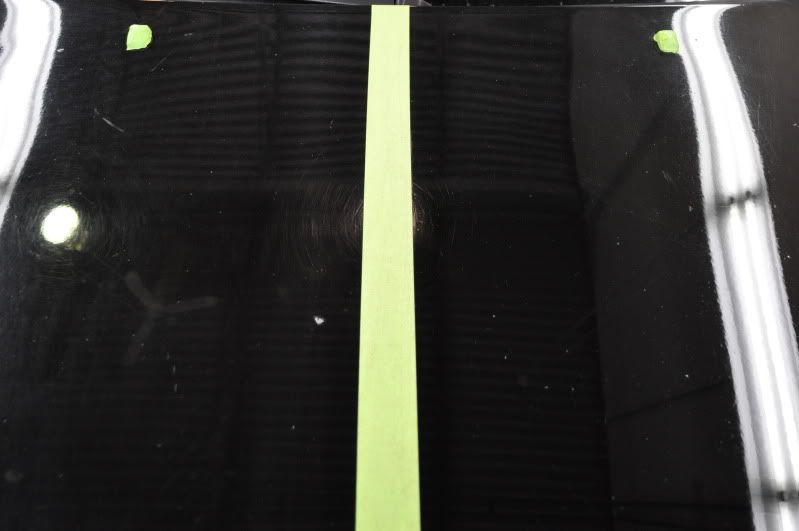
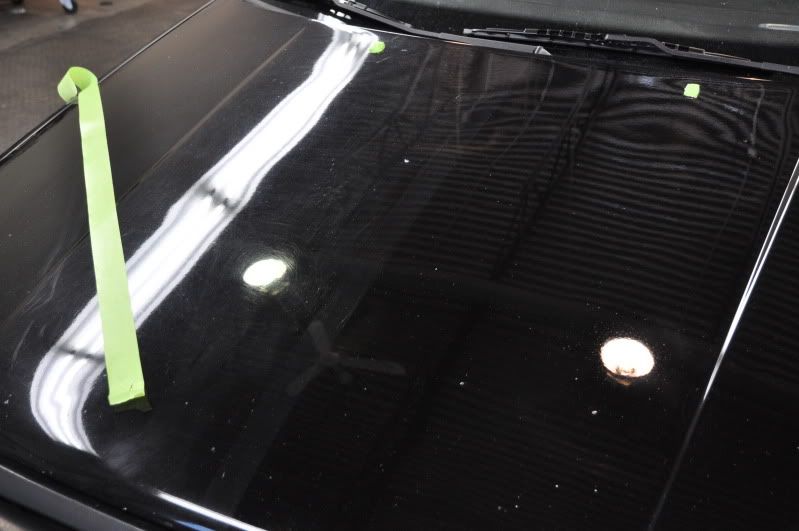
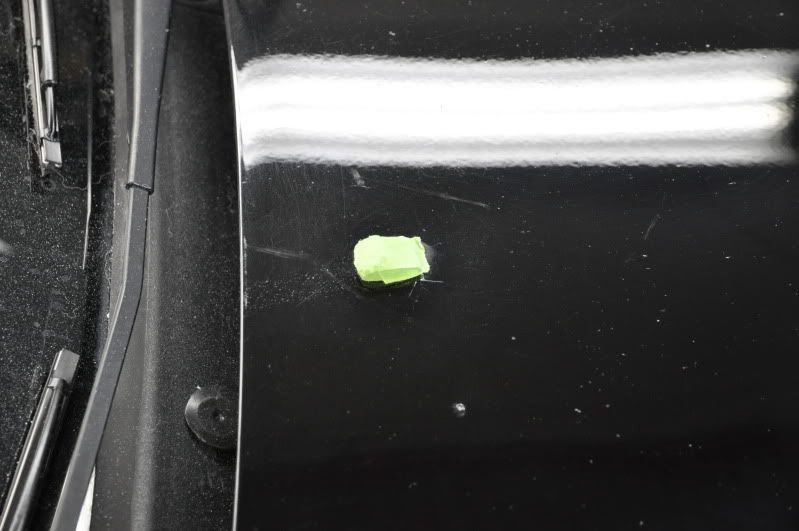
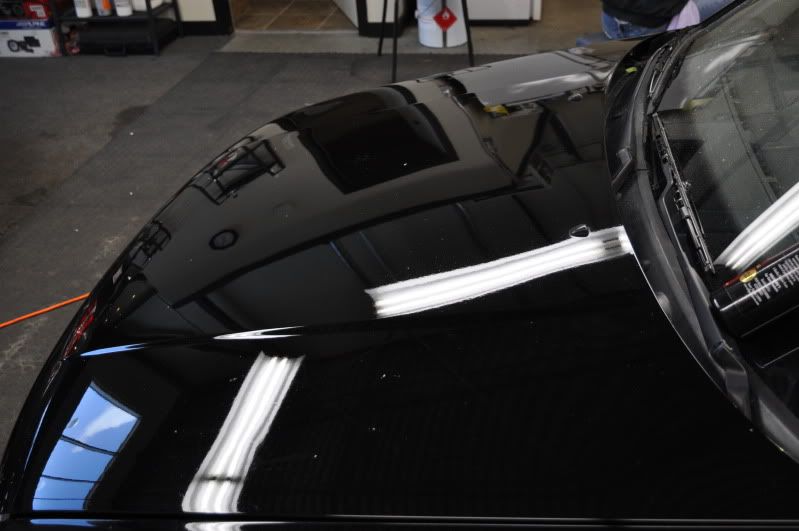
You can see I've taped a line down the middle for a further side by side comparison I'll be doing. I've also taped the washer nozzles. Don't want to clog those up.
Not impressed. The deeper scratches are still present.
On to the next step up.
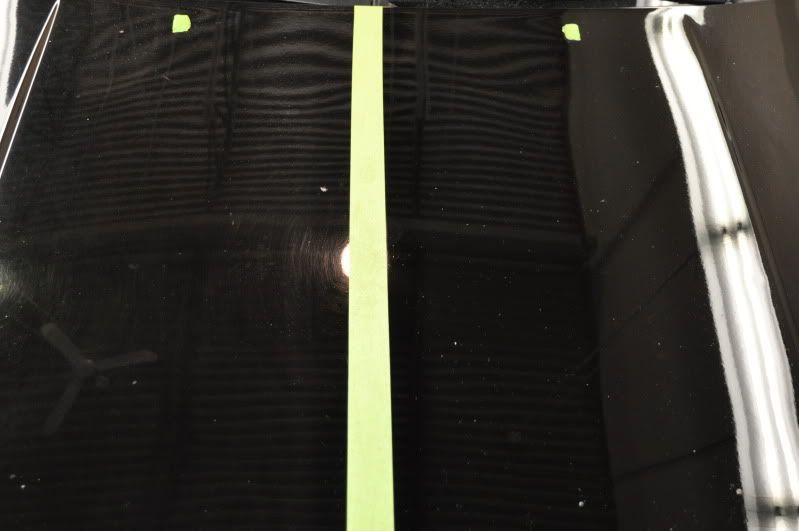
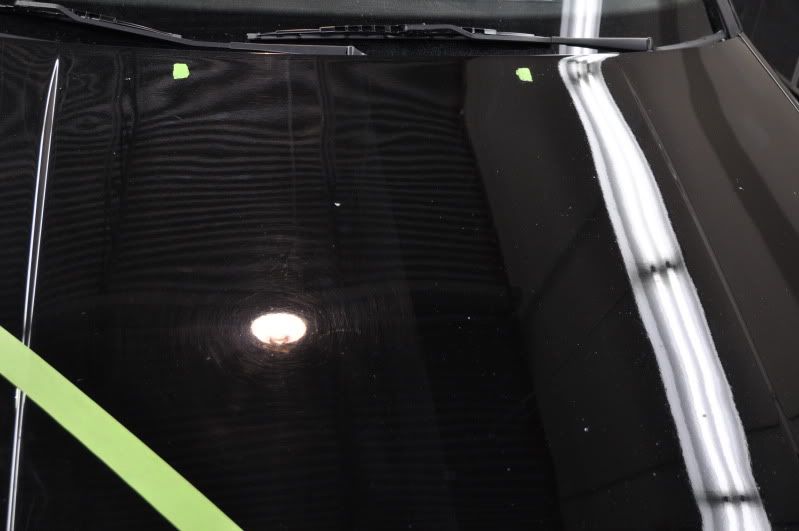
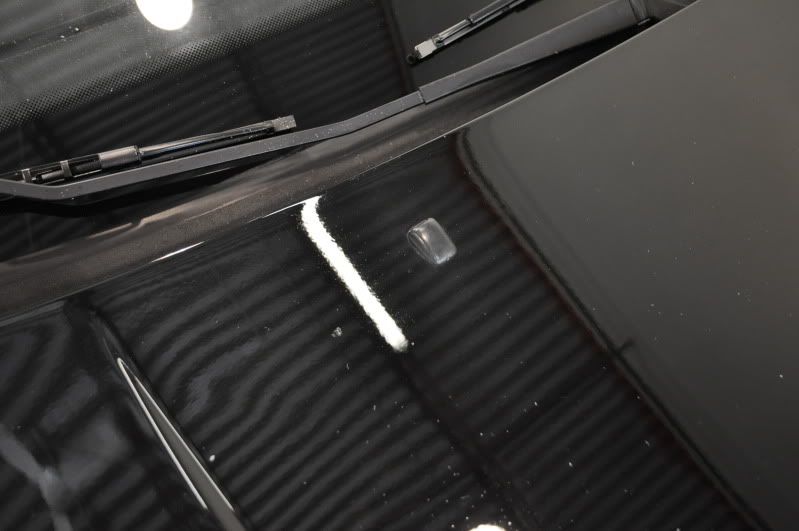
Medium cut pad, with a light compound polish.
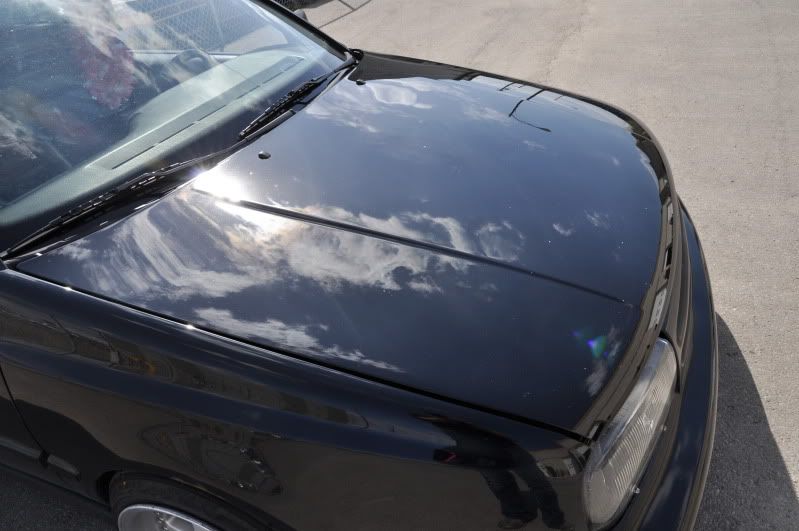
Hey that looks better!
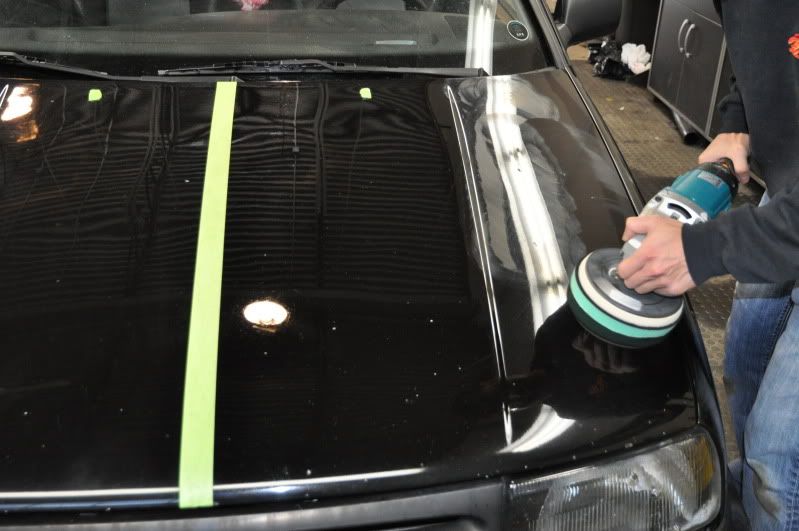
Let's continue with that over the rest of the panel. Perry again will model for us using the Makita Rotary, keeping the pad relatively flat, keeping a nice medium speed of 2.2 on the machine, about 1750rpms, and keeping the pad moving about 2-3 inches per second across the paint. Take a second every now and then and check how much heat the paint is emmiting. It should remain warm. Not cool, and not hot. That provides the best polish break down (clearing).
(To be continued....)


 Quote
Quote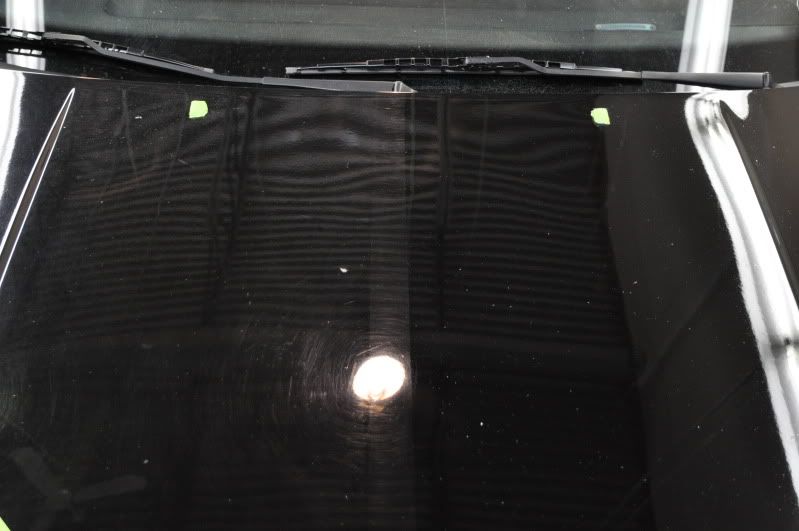


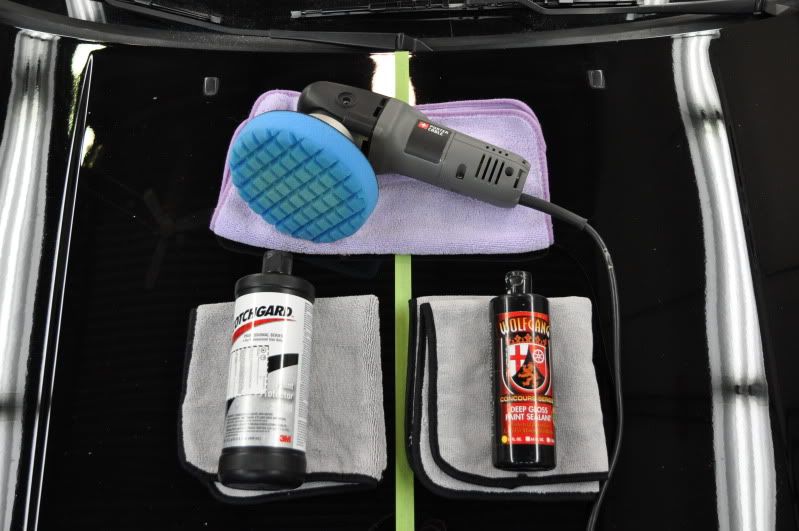

 , I also use wolfgang is an excellent sealer, I like how easy it is to remove, and I do agree it gives dark colors a little bit wetness like a carnauba wax, I have also used klassen and Duragloss they are both equally impressive, the Klassen tends to last longer but is a pain to remove that's probably the only reason why I don't like it as much as Wolfgang.
  ,
,


